Guides
WARDOGS Sabatulo map guide (Season 3): zones, drill towers, bases and artillery spots
WARDOGS Sabatulo map guide for Season 3: 4 Control Zones, 5 drill towers, 3 bases, ladders, rooftop parachutes, mortar and SPH-2 spots.
On this page
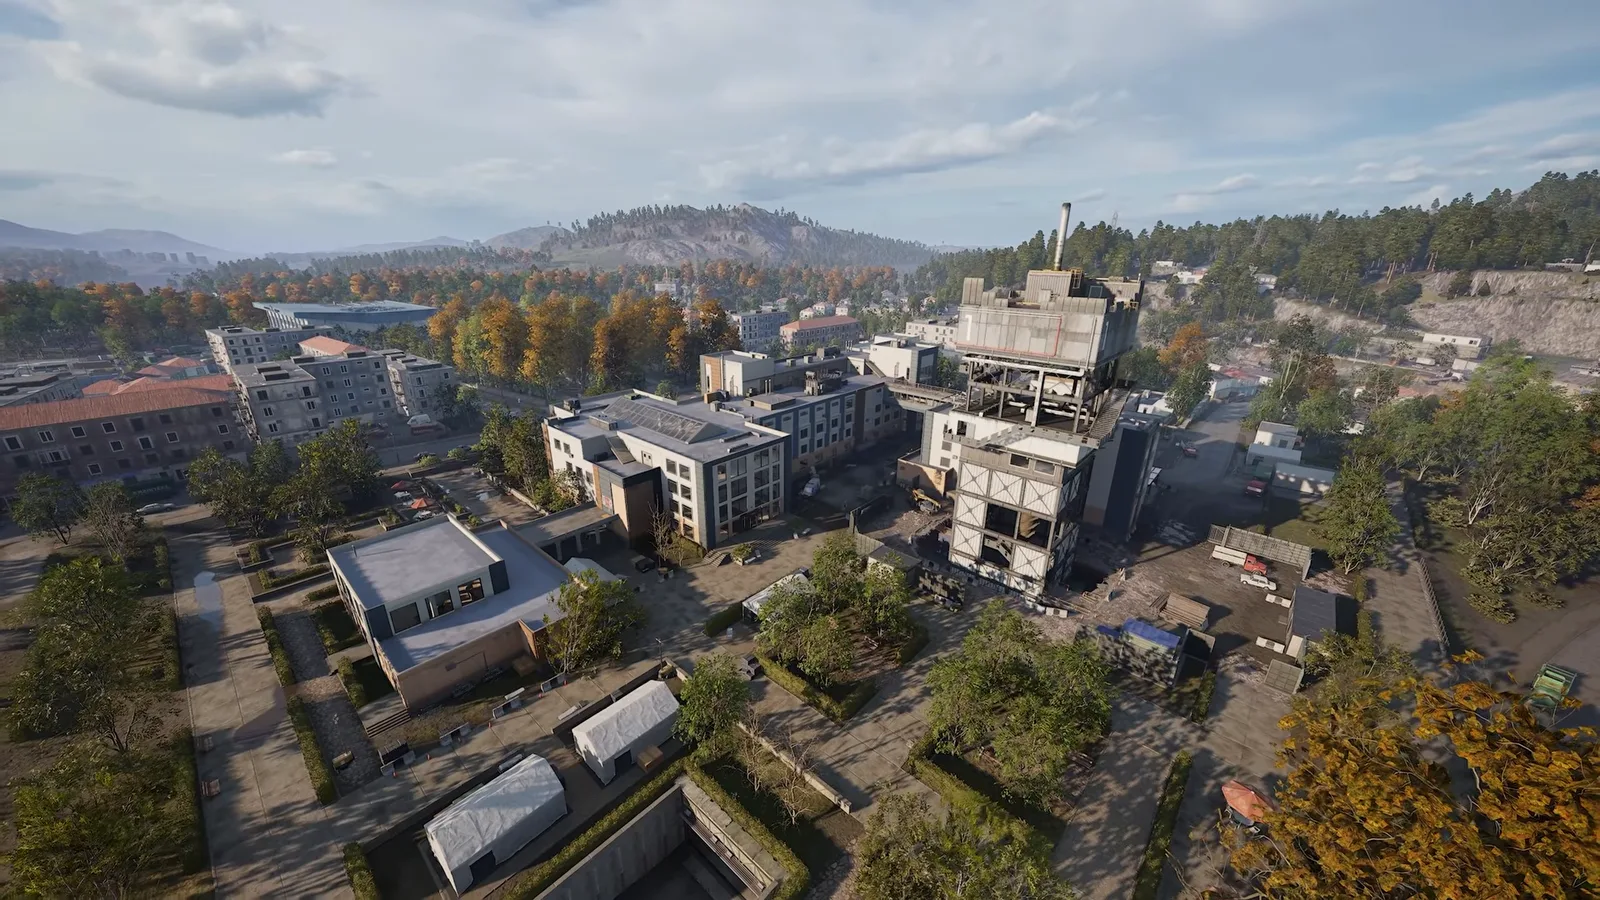
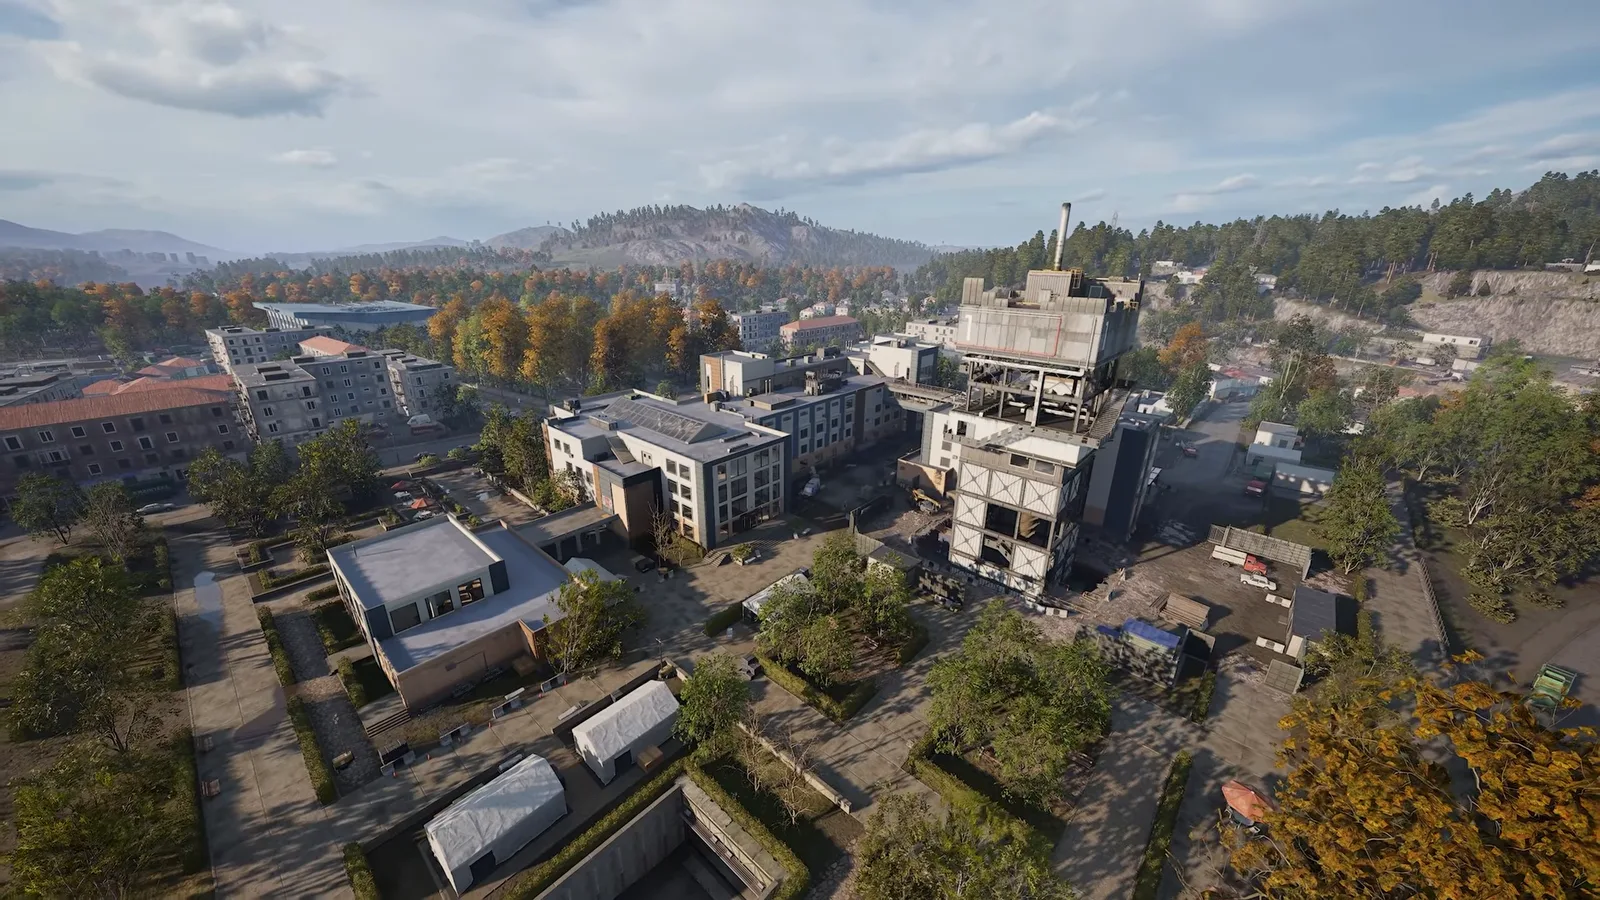
Sabatulo is the Season 3 city map: 16.32 × 16.32 km of terrain with all four Control Zones packed into the middle. This guide gives the coordinates of every zone, drill tower, ladder group and faction base, then shows where mortars and the SPH-2 reach the zones and which roofs suit a Sport Parachute or a Verba. Every number comes from the Season 3 client (build CL-533731): map overlays, the terrain heightmap and the building dump behind the interactive map. Coordinates use the in-game grid of the artillery calculator: x grows east, y grows north, 1 unit = 100 m.
Short answer.
- Zones: Hospital, Bazaar, River and Hillside sit 200–463 m apart, so their 500 m circles overlap over the whole centre. Hospital has weight 2 in the zone rotation, the other three weight 1.
- Towers: 5 drill towers, 113–417 m from the nearest zone centre. Tower 1 stands on the Hospital roof. A hostile capture pays $1,500 and 300 XP.
- Mortar: an
L81 Mortar 160–585 m from the city centre reaches all four zone centres. Outside every zone circle only the high ground north-north-west (around
x78.9 y87.3) does it.- SPH-2: no base is in range. Drive 1.35–1.65 km toward the city, then use the high arc: the low arc skims the roofs.
- Roofs: tower tops reach about 44.5 m, the Hospital about 58 m. That is the 40–60 m band where a
Sport Parachute needs a fast pull and a
Basic Parachute is useless.
Sabatulo at a glance#
| Fact | Value |
|---|---|
| Map size | 16.32 × 16.32 km (UE bounds ±816,000 cm) |
| Terrain height | 81.7–818.4 m (terrain datum: only differences matter) |
| Buildings and structures | 5,560 blocks in the client dump, 3,855 of them within 1.5 km of the city centre |
| Control Zones | 4, radius 500 m, Hot Zone radius 85 m |
| Drill towers | 5 |
| Ladders | 40, 16 of them on the drill towers |
| Faction bases | 3, each 3.87–4.05 km from the city centre |
In this guide the city centre is the midpoint of the four zone centres, x80.37 y81.83. Heights are in the terrain datum of the interactive map: the numbers do not match the in-game altimeter, but the differences between them do.
Control Zones#
| Zone | Centre | From city centre | Weight | Centre height | Hot Zone floor (85 m) | Whole circle (500 m) |
|---|---|---|---|---|---|---|
| Hospital | x79.79 y82.19 |
68 m, north-west | 2 | 150.9 m | 141–152 m | 135–197 m |
| Bazaar | x81.40 y81.01 |
132 m, south-east | 1 | 151.8 m | 147–153 m | 134–177 m |
| River | x78.07 y81.04 |
243 m, west-south-west | 1 | 141.7 m | 136–151 m | 134–204 m |
| Hillside | x82.22 y83.09 |
224 m, north-east | 1 | 153.0 m | 145–154 m | 136–192 m |
Each Control Zone has a 500 m radius and an 85 m Hot Zone inside it. Hot Zone movement runs on a 25 s move delay. The zone rotation gives Hospital weight 2 and the others weight 1, so with a weighted draw Hospital comes up 2 times in 5. The centres stand 200 m (Hospital to Bazaar) to 463 m (River to Hillside) apart: whichever zone is live, the fight covers the same few blocks, and a FOB built for one zone usually serves the next.
Zone payouts in the Season 3 data:
- Enter the Control Zone outside the Hot Zone in a spawn vehicle: $3,000 and 500 XP. Any other entry outside the Hot Zone: $250.
- Capture a drill tower: $250 and 100 XP, or $1,500 and 300 XP if the tower was hostile. Each repeat pays 25% less, down to nothing after four.
Hospital#
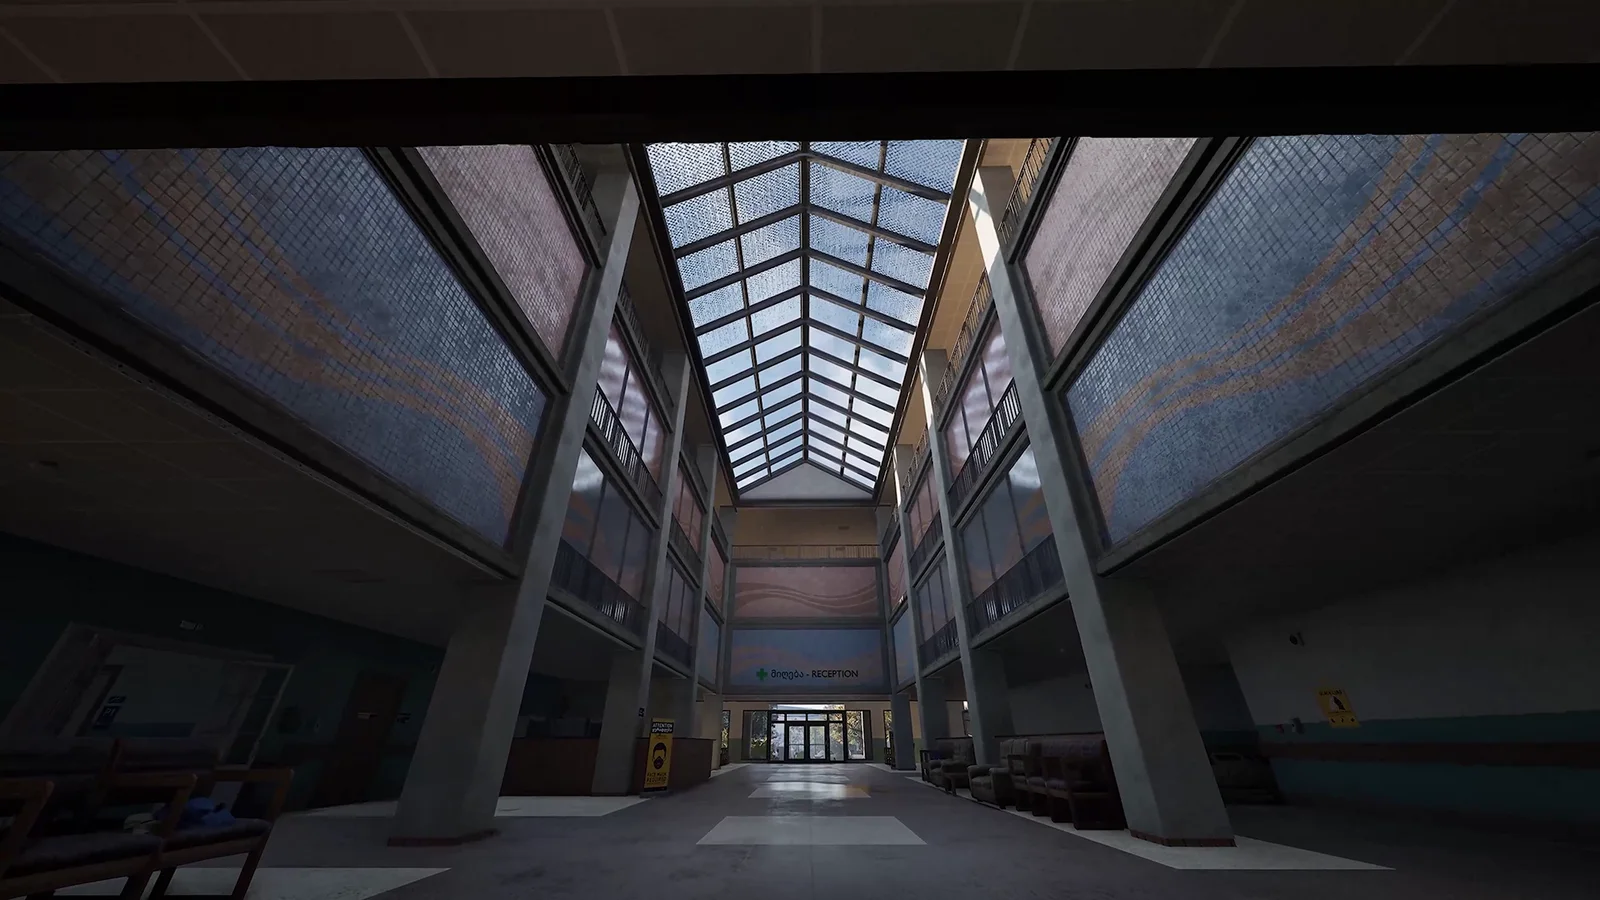
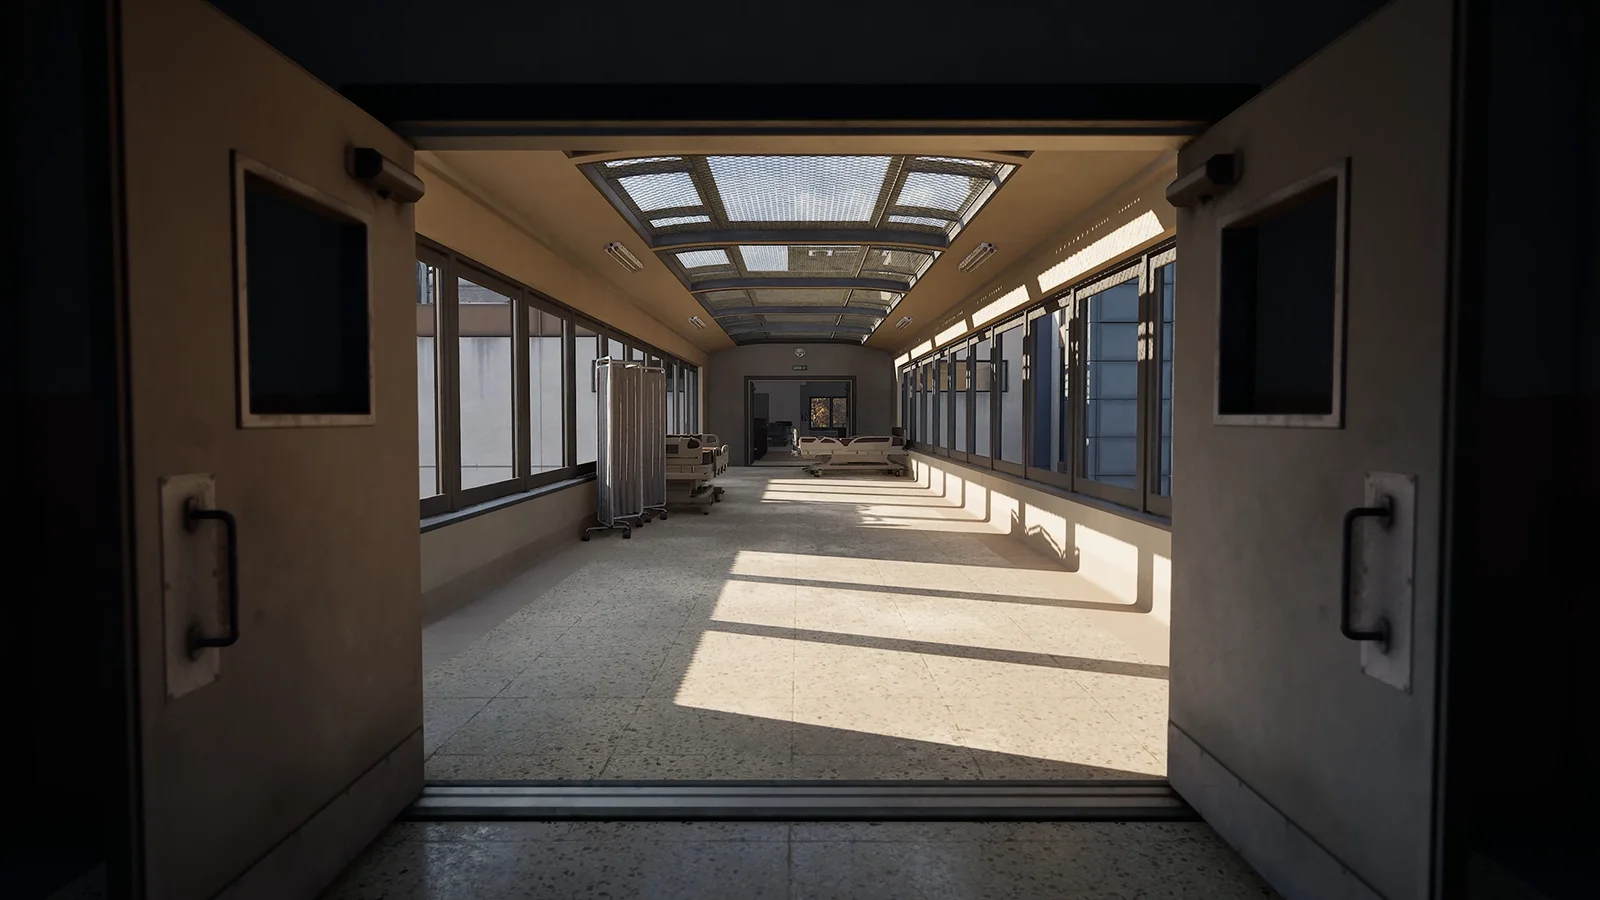
The Hospital zone is the one you will play most. Its centre lies 68 m from the city centre, and Tower 1 stands on the hospital building 113 m to the north-east. The upper blocks of the hospital stand 25–38 m above the street, and the tower ladders on top climb to 43–55 m. Inside you fight through a multi-storey atrium and a glass skybridge, so bring a shotgun or SMG and a  Molotov Cocktail for the stairwells.
Bazaar#
Bazaar has the flattest Hot Zone: 147–153 m across its 85 m circle. Tower 2 stands 208 m east. About 207 m south of the centre, around x80.79 y79.03, a block of flat roofs about 33 m high has four ladders at its foot (5–7 m). From those roofs you overlook the southern half of Bazaar and the street toward River.
River#
River lies lowest: the Hot Zone floor drops to 136 m and the valley west of the centre to about 137 m. The western edge of its circle climbs onto a ridge up to 204 m. Tower 3 stands 260 m south. Tower 4 stands 417 m north-north-west on that ridge, on ground at 196.5 m. It is the highest perch over the centre: its top stands 90–105 m above the River Hot Zone floor. Anyone on it sees down into the zone, so smoke the crossings or push it first.
Hillside#
The centre of Hillside sits at 153 m, as flat as Bazaar. The name fits its eastern half: east of the centre the ground rises to 170–185 m, and the circle tops out at 192 m. Tower 5 stands 191 m north and Tower 2 249 m south-south-east. A defender on the eastern slope looks down onto the Hot Zone; an attacker from River climbs into that view.
Drill towers#
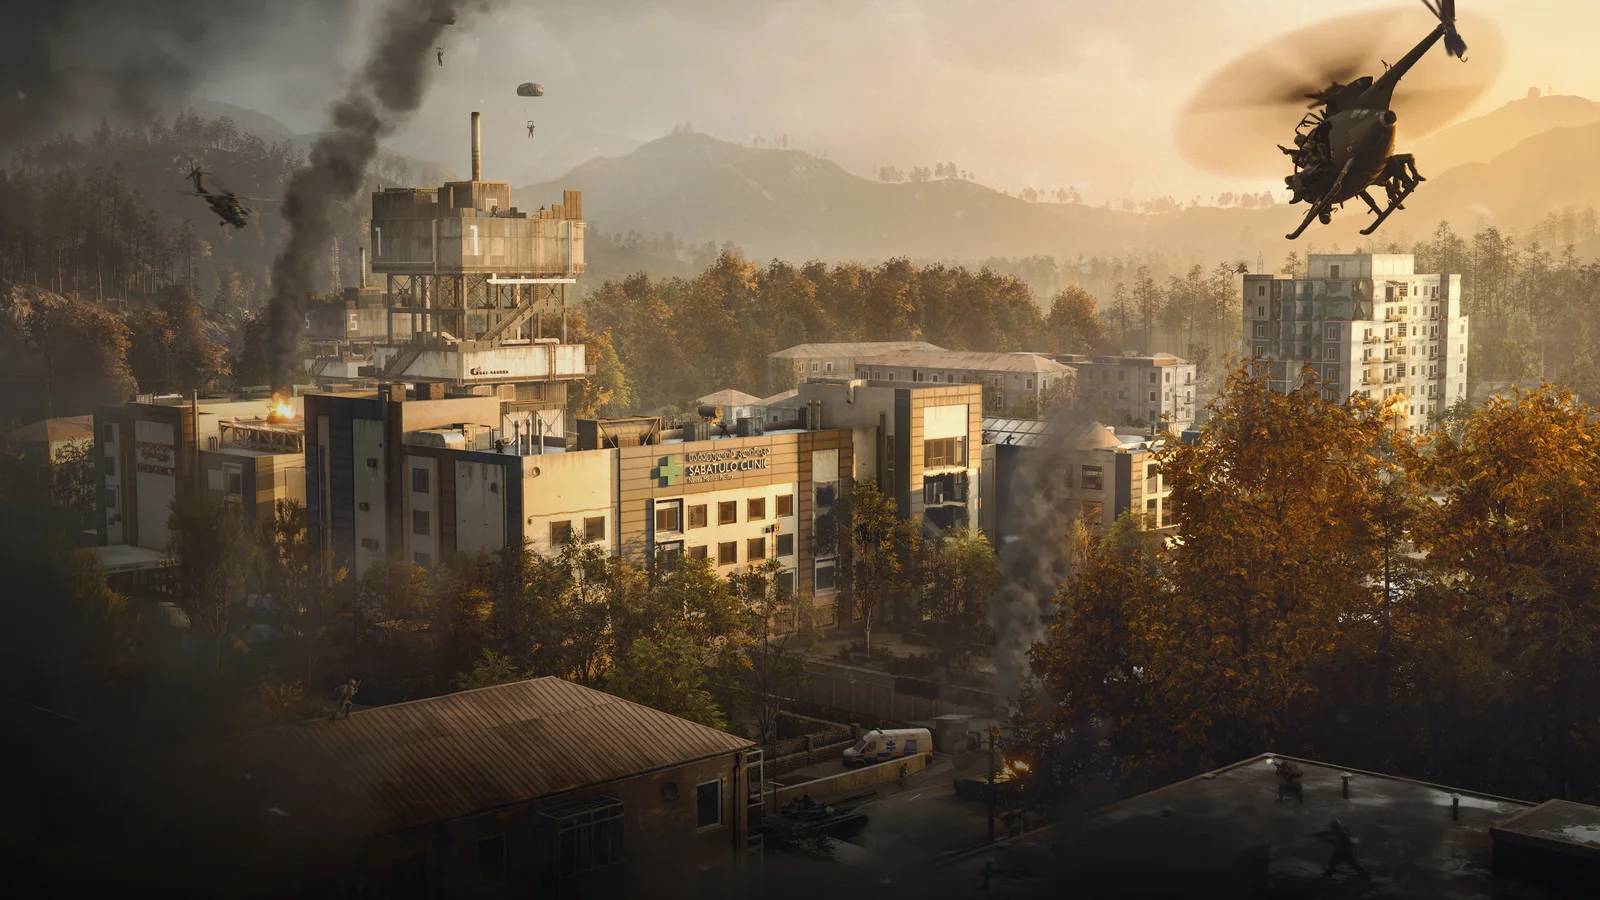
An active drill tower pulls the Hot Zone to its location. The  Drill Rig does the same from a FOB, and the game describes it in exactly those terms. Holding a tower next to the live zone drags the fight onto your ground.
| Tower | Position | Nearest zone | Ground | Ladders (height above street) | Top above street |
|---|---|---|---|---|---|
| 1 | x80.52 y83.05 |
Hospital, 113 m | 141.4 m | 4: 9.8, 42.6, 42.9, 54.7 m | ~58 m (on the hospital roof, base at 34 m) |
| 2 | x83.47 y80.95 |
Bazaar, 208 m | 151.7 m | 3: 23.0, 23.0, 29.8 m | ~44.5 m |
| 3 | x77.98 y78.44 |
River, 260 m | 140.6 m | 3: 23.1, 23.1, 29.9 m | ~44.7 m |
| 4 | x76.00 y84.67 |
River, 417 m | 196.5 m | 3: 23.1, 23.1, 29.9 m | ~44.7 m |
| 5 | x81.68 y84.93 |
Hillside, 191 m | 149.9 m | 3: 23.0, 23.0, 29.8 m | ~44.5 m |
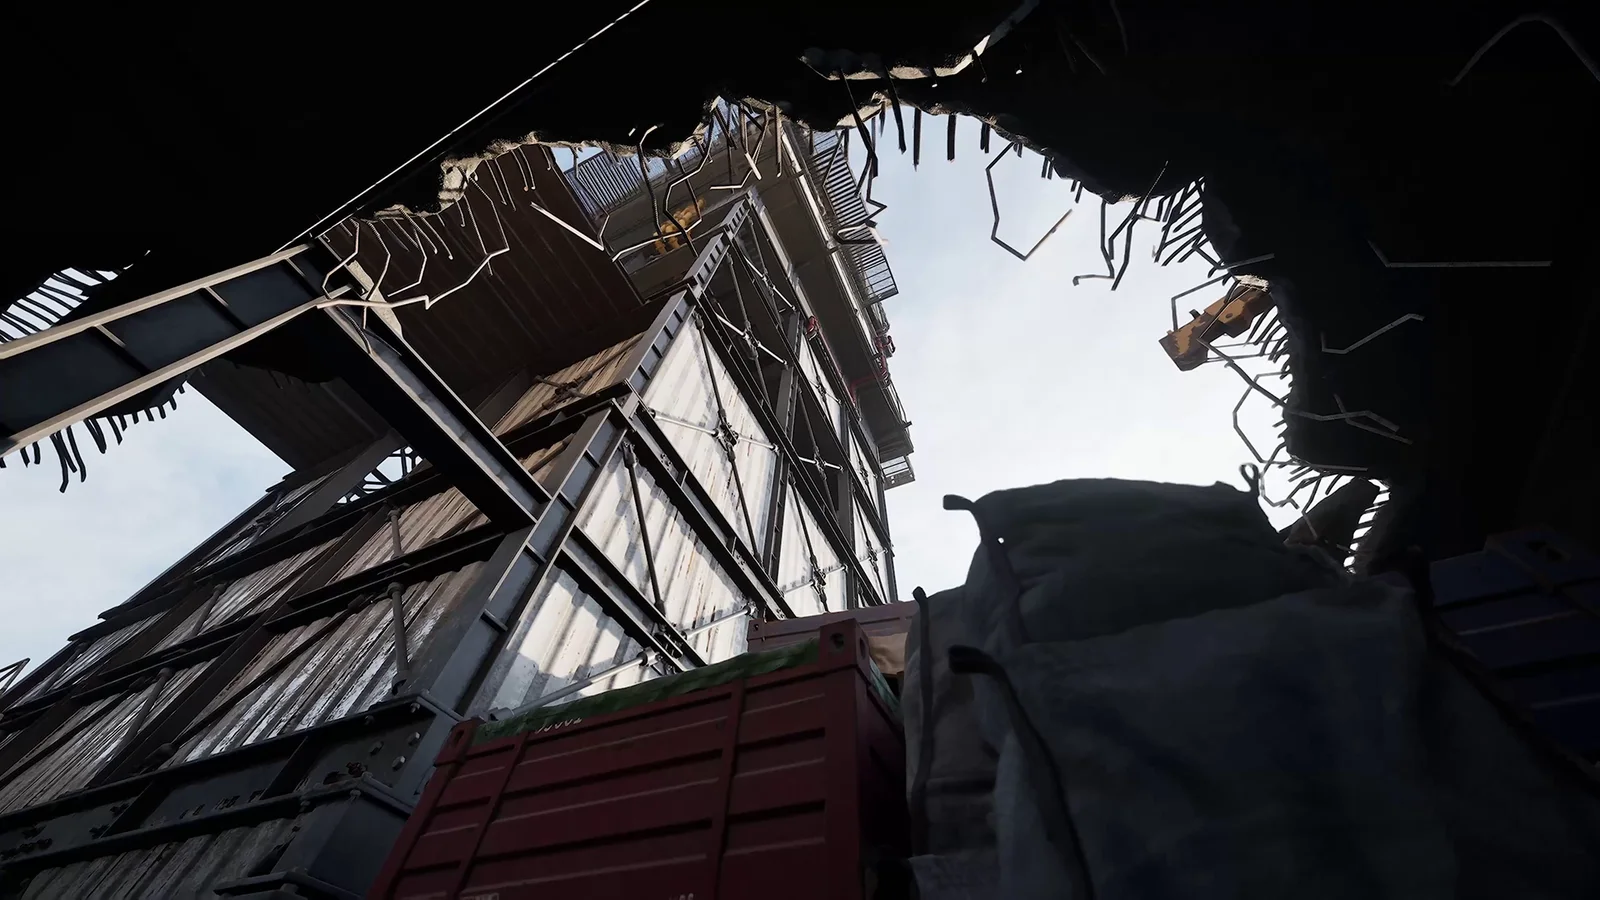
Towers 2 to 5 use the same structure: a base about 14.5 m above the street, ladder landings at 23 and 30 m, and the top at about 44.5 m. Tower 1 is the exception: it stands on the hospital, so its landings sit 43–55 m up.
Ladders, roofs and vertical play#
Sabatulo has 40 ladders. Sixteen belong to the drill towers. Of the other 24, 21 reach no higher than 10 m (garages, low roofs, walls), two climb to 35 m at x89.8 y67.8, 1.7 km south-east of the centre, and one stands in Ramenki base.
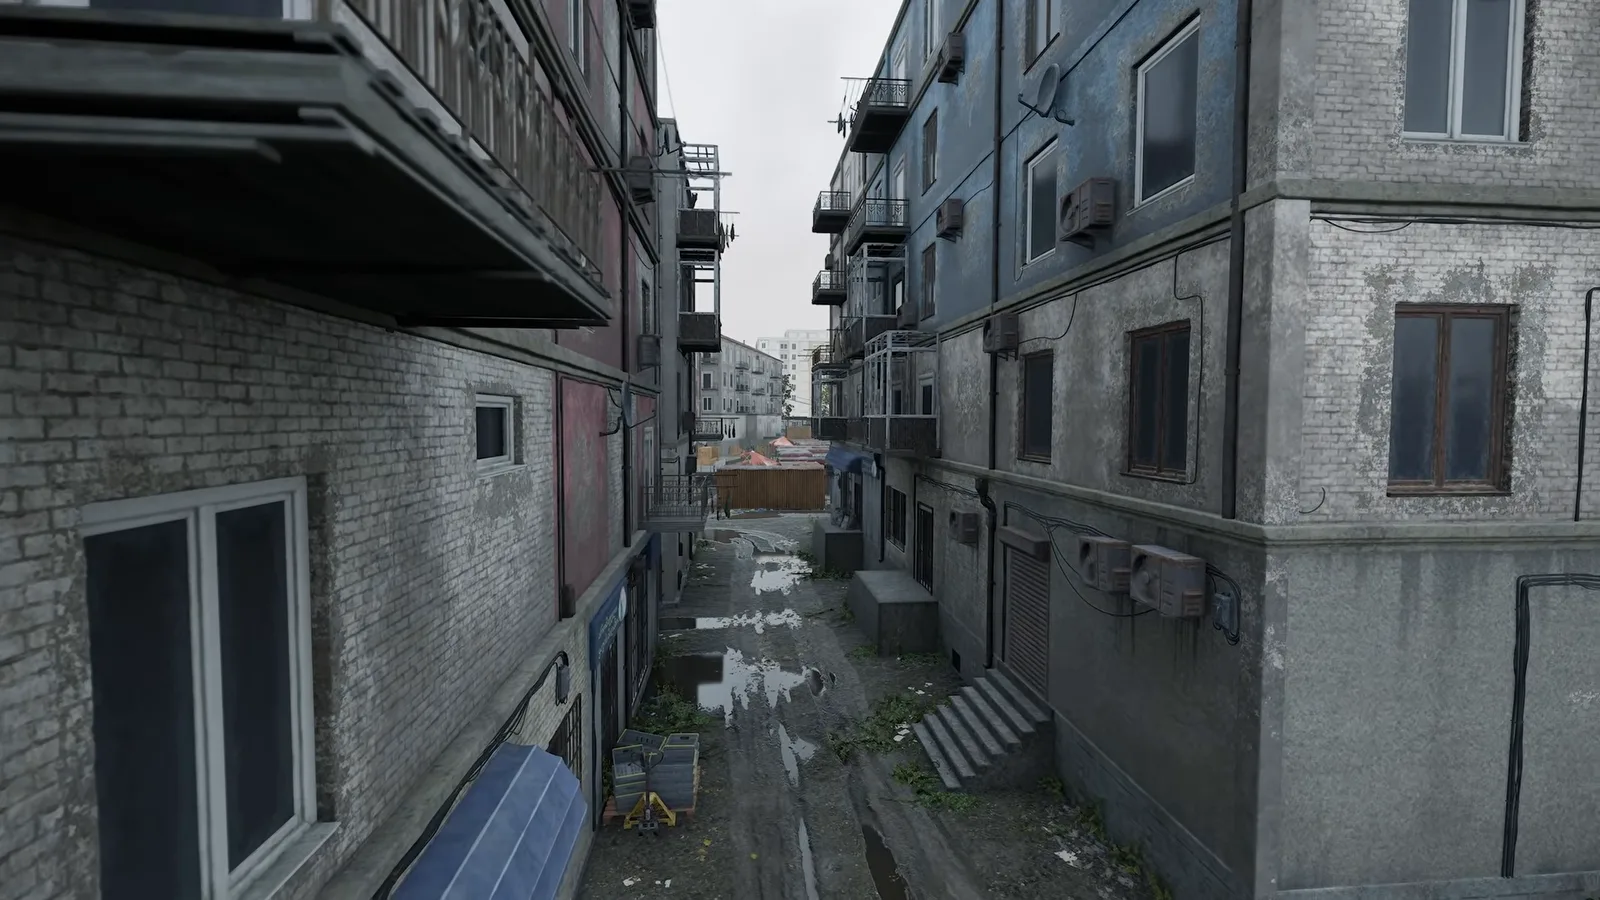
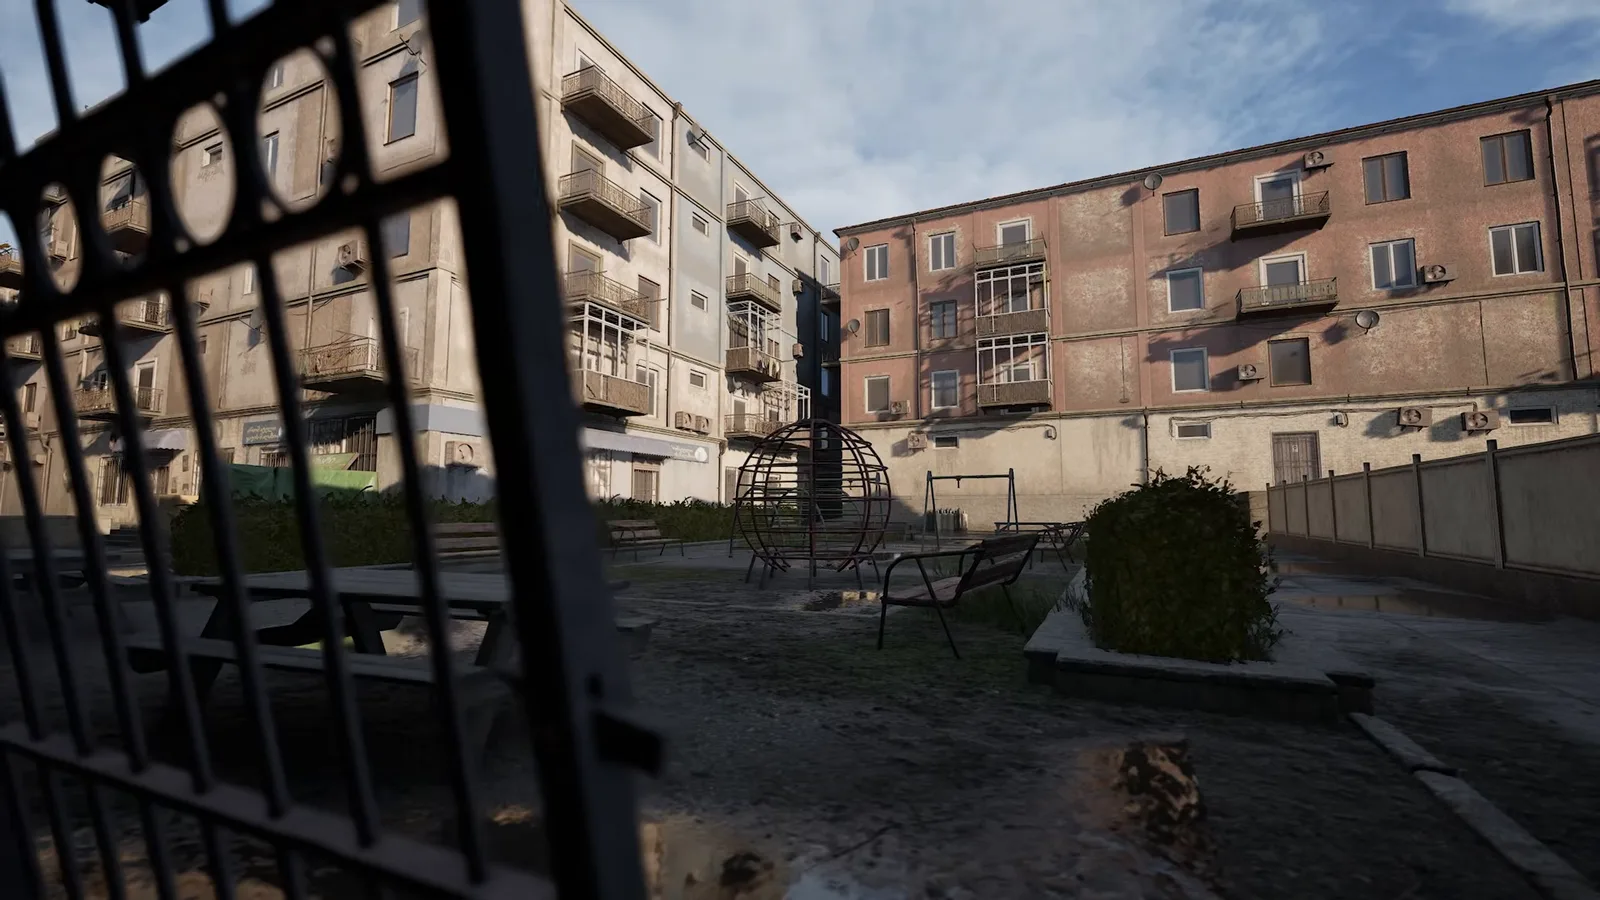
The roofline is low. Of the 3,855 blocks within 1.5 km of the centre, half end less than 4.8 m above the street, 90% below 22.1 m and 95% below 28.6 m. Only 274 reach 25 m and 29 reach 40 m. The 23 m and 30 m tower landings put you above nine roofs out of ten.
Parachutes off roofs and towers#
| Parachute | Price | Safe height (Season 3 patch notes) | On Sabatulo |
|---|---|---|---|
| Sport Parachute |
$2,250 | Effective above 60 m, survivable above 40 m with a fast pull | Tower tops (~44.5 m) and the hospital (~58 m): pull at once |
| Basic Parachute |
$1,250 | Effective above 100 m, cannot open within ~20 m of the ground | Useless off any roof here; keep it for helicopter bailouts |
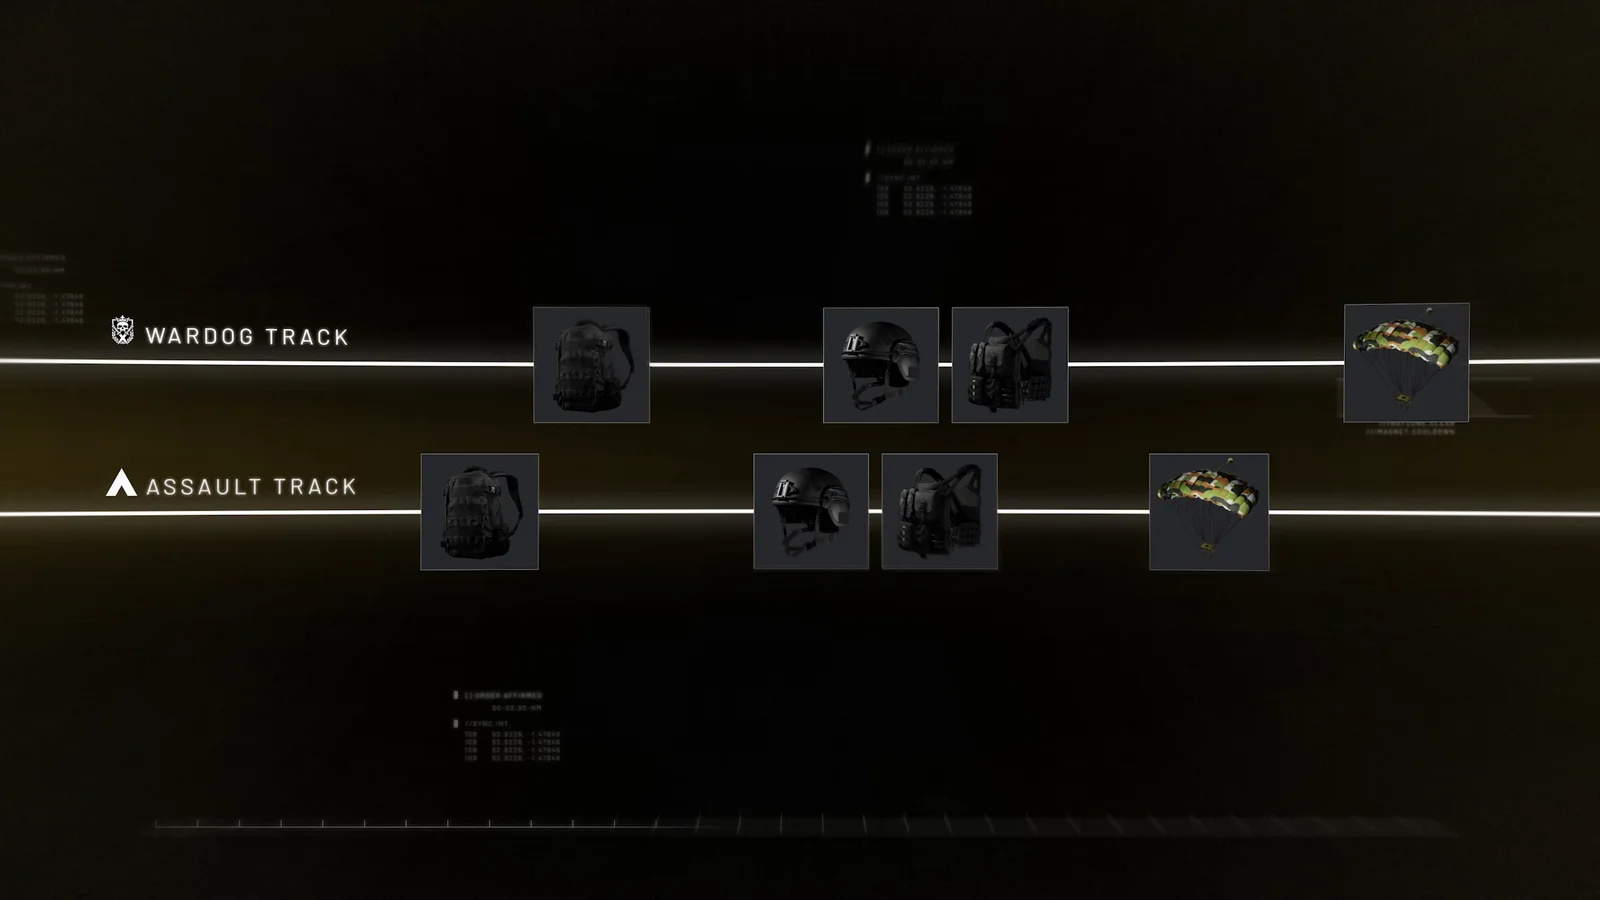
The Sport Parachute unlocks for $25,000 on six tracks:  15,
 15,
 18,
 18,
 18,
 22, plus
 45 on the Wardog track. Parachuting into an enemy FOB pays $1,000 while you are in the Control Zone and $2,000 in the Hot Zone; outside the zone it pays nothing.
Doors and fire#
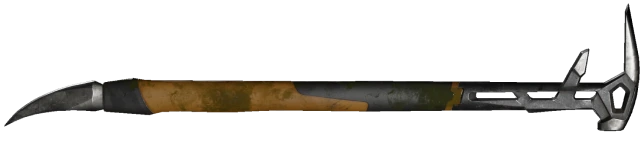 Halligan Bar: pries open locked doors, does nothing to gates, 5,000 durability, $885, no unlock. It opens a back way into apartment blocks while the enemy watches the stairwell.
- Molotov Cocktail: 8, $12,500 to unlock, $340 each. Since Season 3 a burning player drops the item in their hands, so a Molotov in a stairwell or a hospital corridor strips the defender's gun.
The Halligan Bar, the Molotov, both parachutes and the  9K333 Verba stay in the Limited Mode vendor.
Artillery: mortar and SPH-2 spots#
| Weapon | Range on level ground | Arc |
|---|---|---|
L81 Mortar (FOB buildable, 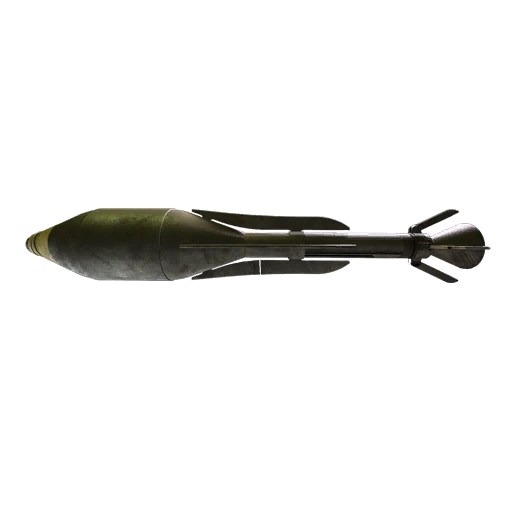 81mm shells) |
132–684 m | One high arc, 150–850 mil |
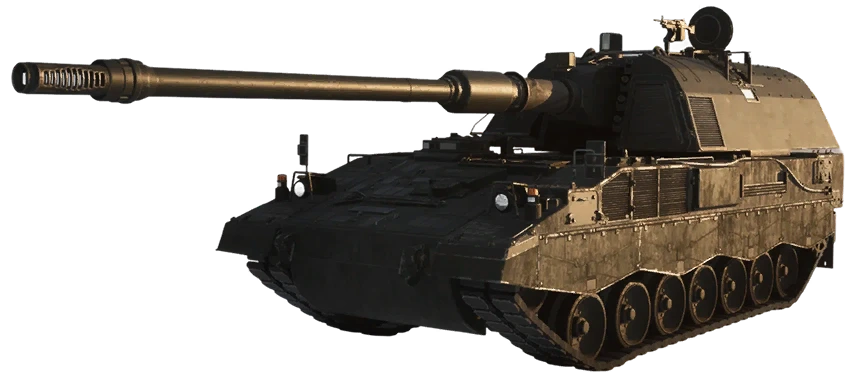 SPH-2, high arc |
780–2,629 m | 610–1,390 mil, 29–37 s flight |
| SPH-2, low arc | 1,181–2,629 m | 20–600 mil |
Mortar#
All four zone centres fall within mortar range from a ring 160–585 m from the city centre, keeping 20 m spare on both ends. That ring lies inside the zone circles almost everywhere. Outside every circle, only one patch works: the high ground north-north-west at x76.9–79.4 y86.3–87.3, on ground at 192–208 m, 559–585 m from the centre. The farthest zone stays only 24–68 m inside maximum range there, and the guns sit 40–67 m above the zone centres.
Height changes the range. ΔZ is target height minus gun height:
| ΔZ | Mortar range |
|---|---|
| −60 m (target below) | 139–743 m |
| −30 m | 135–714 m |
| 0 | 132–684 m |
| +30 m | 128–651 m |
| +60 m (target above) | 125–613 m |
Two cases from Sabatulo:
- River ↔ Hillside: 463 m apart, Hillside 11.4 m higher. The flat solution is 509 mil, the corrected one 502 mil uphill and 516 mil downhill. Ignore ΔZ and the shell lands about 6 m off: still inside an 85 m Hot Zone.
- High ground → River: from
x78.87 y87.33(208 m) to the River centre, 634 m away and 67 m lower. The flat table says 254 mil, the corrected answer is 334 mil. The flat solution overshoots by 53 m.
So ΔZ barely matters between the zone centres but decides the shot from the ridges. Enter both heights in the artillery calculator: it reads the terrain and checks the line of fire against buildings.
Tall blocks rarely stop a mortar. At 600 m the shell is still 62 m above the street 50 m before impact and 30 m at 25 m; at 680 m it is 47 m at 50 m. Keep about 50 m between the mortar and a drill tower or the hospital on the firing line, and expect a target right behind one of them to be shielded on long shots.
SPH-2#
No base reaches the zones: Ramenki, Rostokino and Kuzminki sit 3.69–4.25 km from the four centres. Driving straight toward the city, you reach all four after 1,650 m from Ramenki, 1,450 m from Rostokino or 1,350 m from Kuzminki. Any spot about 850–2,500 m from the centre reaches all four centres on the high arc.
Use the high arc. On the low arc at 1.2–1.5 km the shell comes in at 13–17° and flies only 11–14 m above the street 50 m before impact, 21–30 m at 100 m: an apartment block in the last 100 m catches it. The high arc drops at 82–85° and clears everything, at the cost of a 36–37 s flight. The SPH-2 unlocks at 40 or  145 for $350,000 and costs $8,000; a
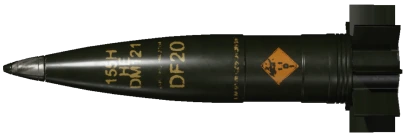 155mm HE Shell costs $120. Limited Mode leaves tracked vehicles out of its vendor, so the SPH-2 is not available there; mortar ammunition stays.
Helicopters and anti-air#
| Helicopter | Unlock | Price | Limited Mode |
|---|---|---|---|
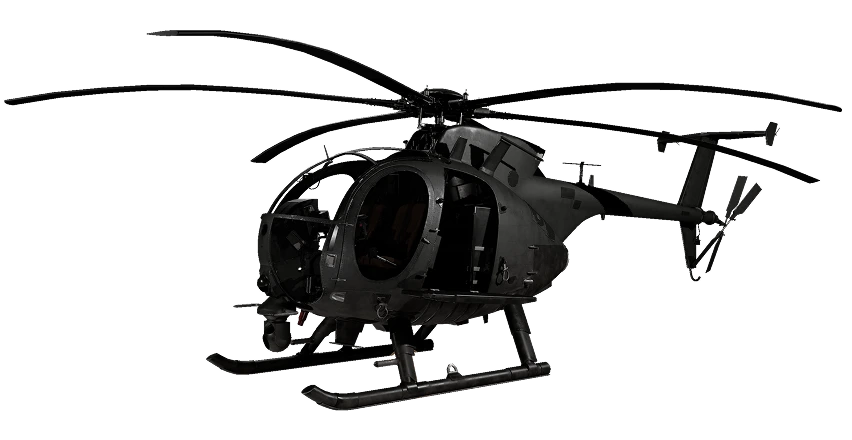 MH-6 |
Free | $6,250 | Yes |
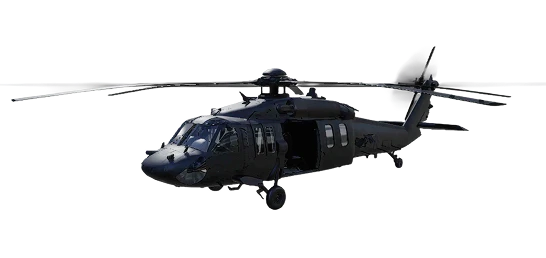 Z20 Lakota |
10, $35,000 |
$7,400 | Yes |
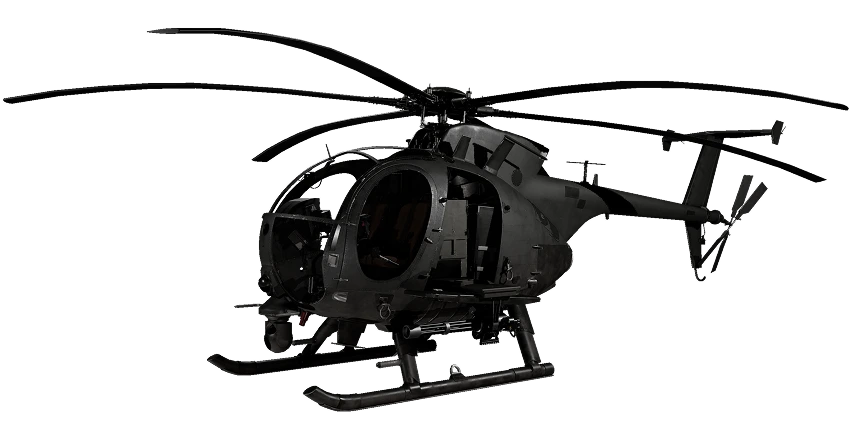 AH-6M [Miniguns] |
8, $125,000 |
$10,480 | No |
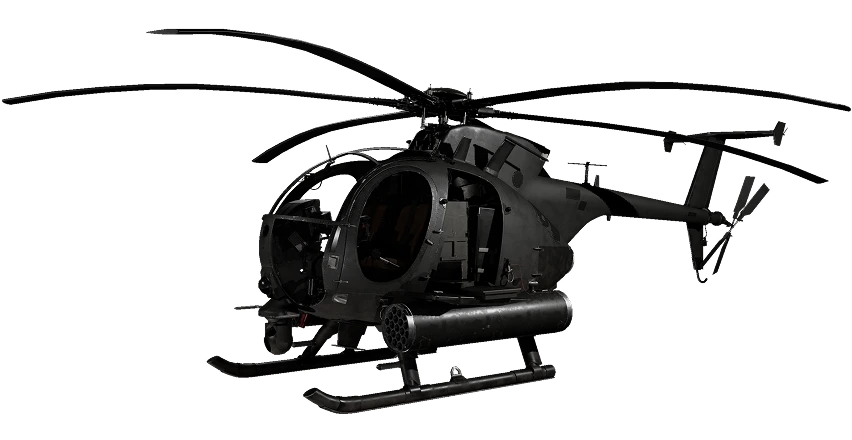 AH-6R [Rockets] |
20, $250,000 |
$18,800 | No |
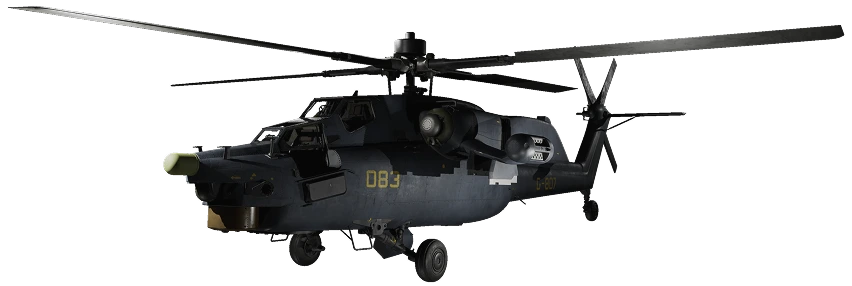 Havoc |
35, $750,000 |
$26,000 | No |
The 9K333 Verba unlocks at 8 for $50,000 and costs $800: a single-use 72 mm missile that needs a lock. In a city the lock breaks whenever a roof cuts the line of sight. From a 23 or 30 m tower landing you clear nine roofs out of ten and keep the helicopter in view. Later, the 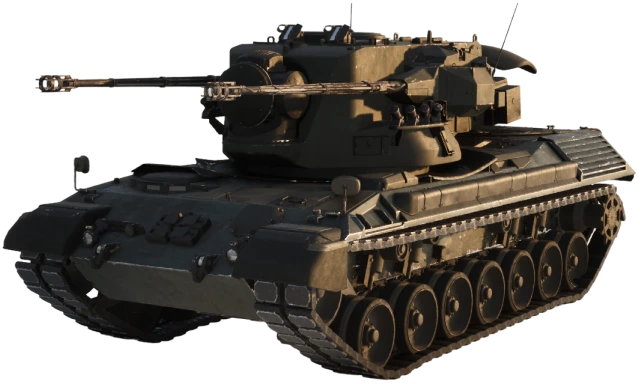 Flakpanzer Gepard (45, $500,000, $14,000) and the
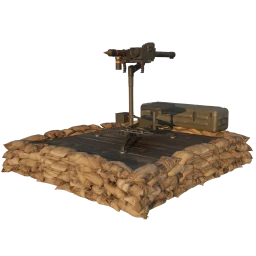 Talon 9K-SAM at a FOB take over.
For pilots: drill tower tops reach 44.5–58 m above the street, and a Verba team on a landing sits level with your rotor. Fly the low roofline on the far side of a tower.
Faction bases#
| Base | Faction | Spawn | Ground | Direction from centre | To Hospital / Bazaar / River / Hillside |
|---|---|---|---|---|---|
| Ramenki | Manticore | x40.00 y78.45 |
136 m | West, 4.05 km | 4.00 / 4.15 / 3.82 / 4.25 km |
| Rostokino | Valkyra | x95.43 y117.55 |
167 m | North-north-east, 3.88 km | 3.87 / 3.92 / 4.04 / 3.69 km |
| Kuzminki | Lonestar | x102.78 y50.29 |
112 m | South-east, 3.87 km | 3.93 / 3.74 / 3.95 / 3.87 km |
Each base has a spawn, an equipment vendor, a vehicle vendor, a garage vendor, a fuel refill and a vehicle deployment point, all within 70 m of each other inside an 800 × 800 m safe zone. Ramenki is closest to River, Rostokino to Hillside, Kuzminki to Bazaar. From every base the trip is close to 4 km, so a transport run pays off: arriving in the Control Zone in a spawn vehicle earns $3,000 and 500 XP.
Method and limits#
- Zones, towers, ladders and base facilities come from the map overlays of the Season 3 client, build CL-533731. Positions convert to the in-game grid the same way as on the interactive map.
- Heights come from the client terrain heightmap (4 m grid, bilinear). Building heights come from our dump of 5,560 building and structure blocks; tops above the street are block tops minus the terrain under their centre, so treat them as ±a few metres.
- Mortar and SPH-2 ranges use the site's trajectory model behind the artillery calculator. "Reaches all four zones" means the four centres, not every point of the 500 m circles: no single gun covers a whole Control Zone.
- Parachute heights come from the Season 3 patch notes. The zone weights come from the game data; we assume the draw is proportional to them. We did not test the positions in game.
Further reading#
- Sabatulo interactive map: zones, towers, ladders and bases on the terrain.
- Artillery calculator for Sabatulo: firing solutions with height correction and line-of-fire checks.
- FOB planner: what a mortar FOB costs to build.
- Season 3 weapon meta: which guns win the streets and rooftops.
- Season 3 patch notes: Sabatulo, Limited Mode and the parachute rework.
- What changed in Season 3: every changed item number.