Wardogs
 Guides
WARDOGS PC settings guide: graphics, FPS and launch options
Which WARDOGS graphics settings cost frames, where Potato hurts more than it helps, what DLSS and Frame Generation really do, and which launch options work, all checked against the game's own files.
On this page
- Quick setup
- How the quality tiers work
- Gameplay settings
- Field of view and weapon model
- Aim Down Sight (FOV)
- Picture-in-Picture Scope
- Display and latency
- Anti-aliasing and upscaling
- Frame Generation
- Quality settings explained
- Particle Spawn Rate: Low beats Potato
- Textures and VRAM
- Launch options
- Worth adding
- Window and resolution
- Troubleshooting
- Skip these
- Ready to copy
Which WARDOGS settings cost frames, which ones change nothing, and which launch options are worth typing? We went through the files the game itself ships: the scalability config that defines every quality tier, the engine config, and the settings descriptions BULKHEAD wrote for the menu (Season 1 game files). Everything below follows from them.
Short version. Disable Picture-in-Picture Scope, use DLAA or DLSS Quality on an RTX card, keep Shadows and View Distance on Medium, set Particle Spawn Rate to Low instead of Potato, and add
-nogpucrashdebuggingto your launch options. Leave out-NoAnalyticsand-precache: we found no sign that either does anything in WARDOGS.
Quick setup#
| Setting | Our pick | Why |
|---|---|---|
| Picture-in-Picture Scope | Disabled | The game renders the world a second time while you look through a scope |
| Anti-aliasing method | DLSS (DLAA or Quality) on RTX, FSR on Radeon RX 9000 | Sharpest image for the cost |
| NVIDIA Reflex | Enabled | Lower input latency; Frame Generation requires it |
| VSync | Off | VSync adds input latency |
| Mesh Detail | Medium | Low switches Nanite tessellation off; High and Overkill are identical |
| View Distance | Medium | High and Overkill share the same draw distance |
| Shadows | Medium | Potato deletes shadows, volumetric fog and cloud shadows |
| Reflections | Low | Low and Medium are identical; Potato removes reflections entirely |
| Particle Spawn Rate | Low | Same particle cut as Potato, but tracers stay smooth |
| Post-processing | Low | Potato drops ambient occlusion and local exposure |
| Texture Streaming | Match your VRAM | Pool sizes per tier in the textures section below |
How the quality tiers work#
Every quality slider has five steps: Potato, Low, Medium, High and Overkill. Potato sits below Low and follows its own rules: on several settings it switches a feature off instead of lowering it a notch. Overkill sits above High, and on View Distance, Mesh Detail and Character textures it adds nothing over High.
Overall Quality has an Auto-detect Hardware button. BULKHEAD describes it as a developer-recommended setup that aims for a smooth 60 FPS on your hardware. Start there, then adjust single settings; the preset flips to Custom on your first change.
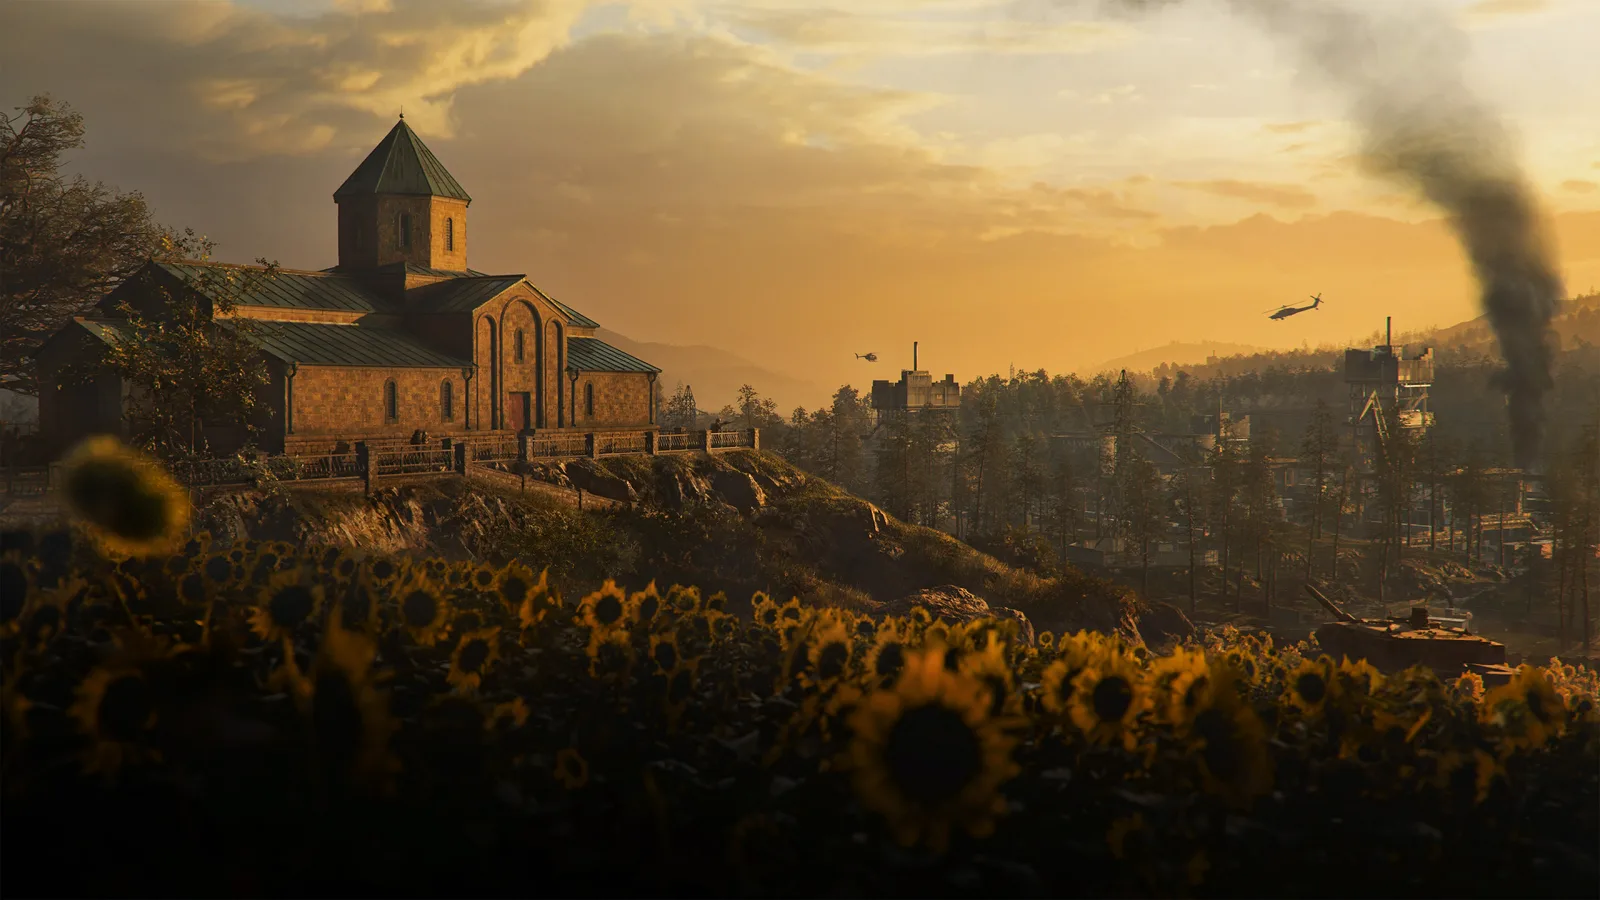
Lowering Foliage will not thin out the grass you lie in. The config pins grass density to the same value on every tier.
Gameplay settings#
Field of view and weapon model#
- Field Of View (FOV): 100 suits most monitors. A narrower view draws fewer objects, so on a very weak PC dropping toward 60 wins a few frames. Cut other settings first: at 60 you lose sight of anyone flanking you from the edge of the screen.
- Weapon View Model Scale: maximum. A higher value makes your gun smaller on screen, so you see more of the world around it.
- First Person FOV – Vehicles low, Third Person FOV – Vehicles high. A tighter first-person view helps you aim from inside a vehicle; a wide third-person view shows what is driving up beside you.
Aim Down Sight (FOV)#
This option decides how sights with less than 3.25x magnification react to your FOV slider:
- Affected: low-power sights follow your FOV. At FOV 100 a
 Kobra Reflex,
 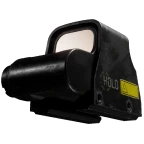 Holographic Sight or
 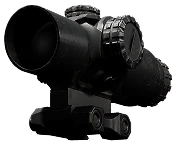 CQ-2x Prism Combat Scope shows more around the reticle, and targets look a little smaller.
 - Independent: those sights use a fixed base FOV, so a red dot zooms the same amount whatever your slider says.
From the 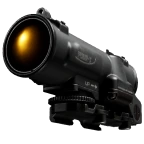 Spectr 4x upward both modes behave the same. Pick Affected if you want peripheral vision on red dots, Independent if you want bigger targets.
Picture-in-Picture Scope#
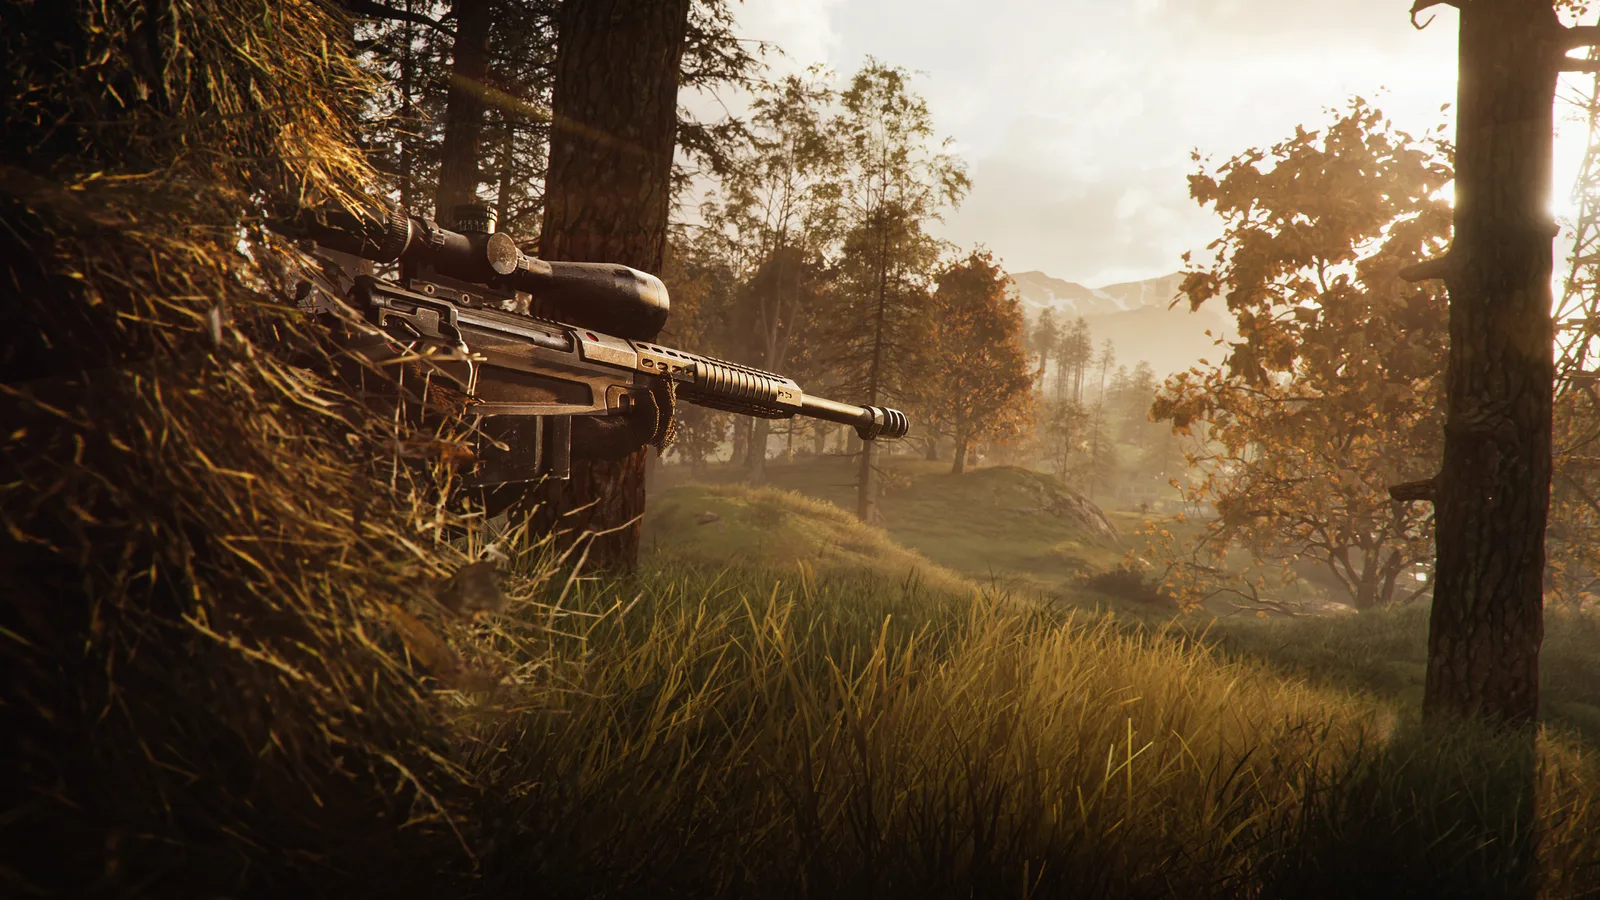
Turn it off. With PiP on, telescopic sights get their own FOV and you keep a sharp view around the lens, but the game draws the world twice. BULKHEAD's own description calls the performance hit significant and recommends disabling PiP on most systems. The exact loss depends on your GPU and the map; you feel it most on long glass like the 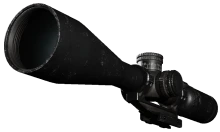 6x Precision Rifle Scope or the
 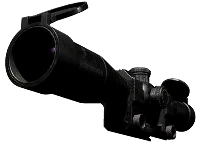 6-10x Scope MRAD.
6x Precision Rifle Scope
Optic
$680
Display and latency#
| Setting | Our pick | Notes |
|---|---|---|
| Display Mode | Fullscreen | Windowed Fullscreen if you alt-tab a lot |
| Resolution | Native | Windowed Fullscreen locks it to your desktop; use Resolution Scale instead |
| Frame Limit | Unlimited with Frame Generation, otherwise a cap you can hold | A steady cap gives smoother frame pacing than a bouncing uncapped rate |
| VSync | Off | |
| NVIDIA Reflex | Enabled | Enabled + Boost also keeps GPU clocks high when you are CPU-bound, at the cost of power draw |
| Main Menu FPS Limit | Keep a limit | It only affects menus |
| Brightness | Calibrate | Raise it until the Wardogs logo on the left is barely visible |
| Sharpness | To taste | Around 1.2 sharpens without visible halos |
Display Mode comes down to alt-tab habits. The game's own description says Fullscreen runs slightly faster, while Windowed Fullscreen switches between apps without a black-screen pause and usually costs little in a match. Try Fullscreen first and switch if alt-tab hitches annoy you.
Keep Main Menu FPS Limit on. It only caps the frame rate in the main menu to reduce GPU load. Turning it off gains nothing in a match and makes your card work harder between rounds.
Anti-aliasing and upscaling#
Do not run without anti-aliasing: trees, wires and shadow edges turn into crawling pixels. The Anti-aliasing method menu offers six options:
| Method | What it is | Our take |
|---|---|---|
| FXAA | Cheapest, blurs edges at native resolution | Low-end PCs only |
| TAA | Runs on anything, a little soft in motion | Fallback |
| NVIDIA DLSS | AI reconstruction, RTX cards only | First choice on RTX |
| AMD FSR | Runs on any GPU, FSR 4 on compatible hardware | First choice on Radeon RX 9000 |
| Intel XeSS | Best on Intel Arc, works on most GPUs | Worth a test on older Radeons |
| None | No anti-aliasing | Avoid |
The game lists the internal render resolution for each DLSS mode:
| DLSS mode | Renders at |
|---|---|
| DLAA | 100% (native) |
| Quality | 66% |
| Balanced | 58% |
| Performance | 50% |
| Ultra Performance | 33% |
- RTX with headroom: DLAA gives the sharpest picture. Need frames? Quality, then Balanced. Ultra Performance renders a third of the pixels and looks soft. If DLAA leaves ghosting trails behind fast movement on your card, step down to Quality.
- Radeon: FSR 4 needs an RX 9000-series card. On RX 7000 and older the game uses an earlier FSR version, so compare it with XeSS before you settle.
- XeSS: on some cards it flickers on static objects, on others its Native Anti-Aliasing mode gives the cleanest edges. Test it on your own GPU.
Frame Generation#
DLSS-G (DLSS Frame Generation) needs NVIDIA Reflex enabled and Frame Limit set to Unlimited; the game blocks it otherwise. Modes: Dynamic and On2X through On6X. Settings above 2X are Multi Frame Generation, which needs an RTX 50-series card.
Frame Generation smooths motion, it does not cut latency. Generated frames carry none of your input, and the technique adds a small delay that Reflex offsets. Turn it on when you already hold around 60 FPS on a high-refresh monitor; it will not make a struggling PC feel responsive.
Quality settings explained#
The right column shows what the config actually changes between tiers.
| Setting | Our pick | What the tiers change |
|---|---|---|
| Mesh Detail | Medium | Low switches off Nanite tessellation and lowers mesh density; Potato also hides small decorative objects. High equals Overkill |
| View Distance | Medium | Draw distance 50% on Potato and Low, 75% on Medium, 100% on High and Overkill |
| Shading | High for looks, Low for FPS | Low and Potato switch water to a cheaper version; Potato also drops global distance fields |
| Global Illumination | Disabled | Lumen bounce lighting only runs on Overkill; Low to High use cheaper distance-field AO. Some menus do not show this option at all |
| Shadows | Medium | Potato turns dynamic shadows off and removes volumetric fog and cloud shadows; Low keeps the fog |
| Reflections | Low | Low and Medium are identical screen-space reflections, High sharpens them, Overkill uses Lumen. Potato removes reflections |
| Effects | Any | In this build all five Effects tiers carry the same values, so this slider changes nothing |
| Particle Spawn Rate | Low | See below |
| Post-processing | Low | Potato drops ambient occlusion, light shafts and local exposure, which explains its flat, harsh contrast |
| Bloom | Off | Cheap either way; off keeps muzzle glare and sun glow down |
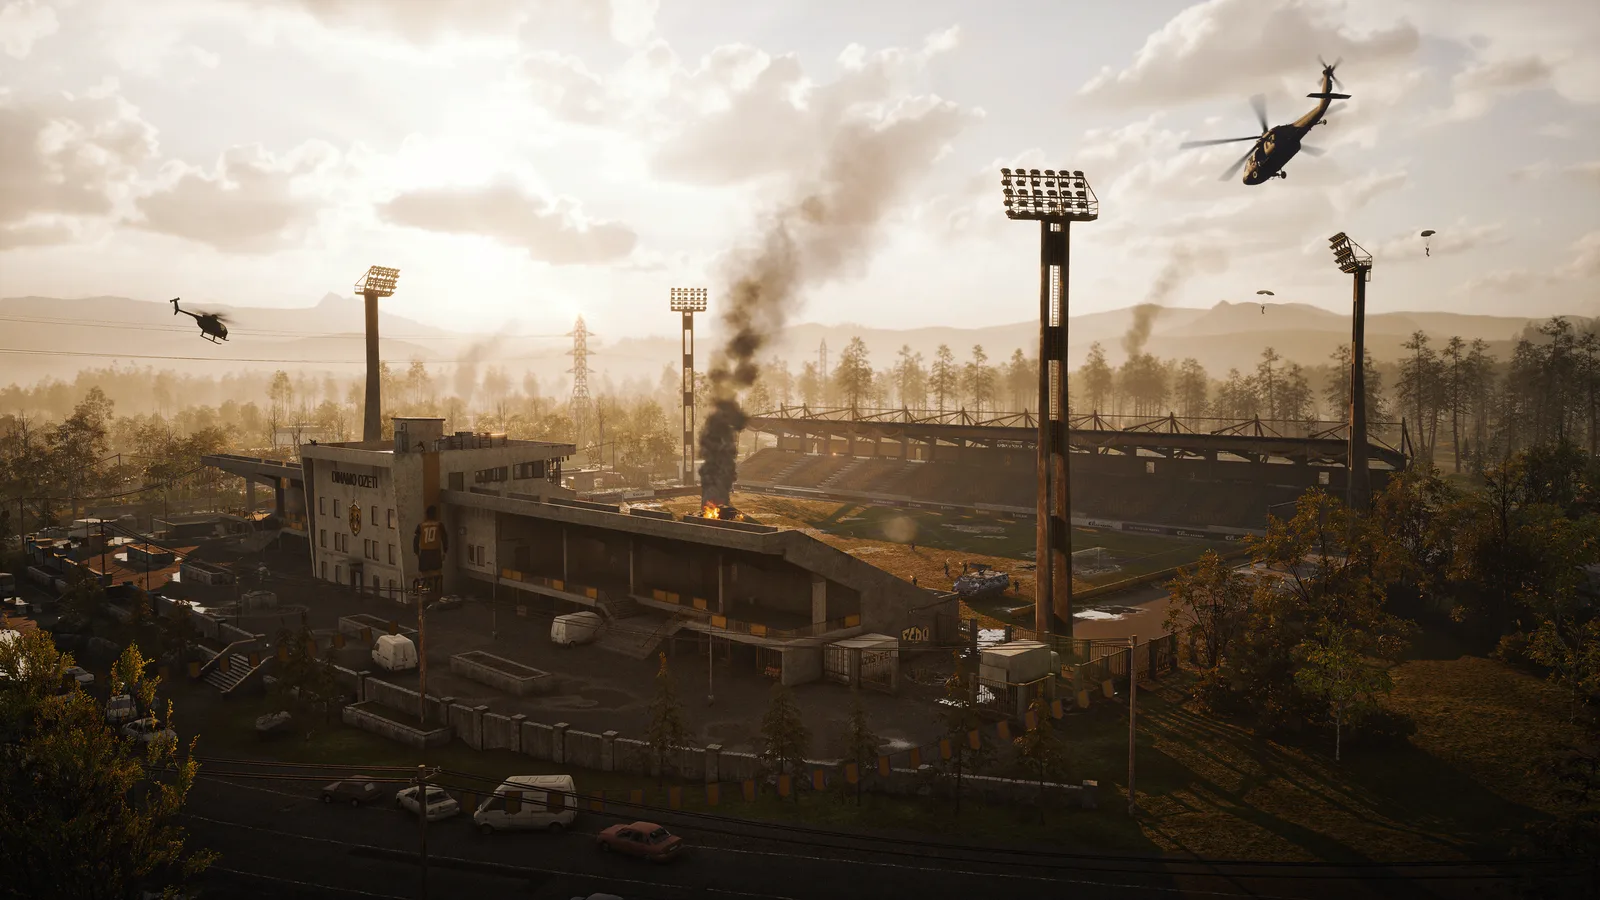
View Distance is the classic trap. BULKHEAD's own description says most of the world uses fixed draw distances for gameplay fairness, so High mostly adds far scenery on maps like Ozeti and does not reveal hidden enemies sooner. Medium is the sweet spot.
Particle Spawn Rate: Low beats Potato#
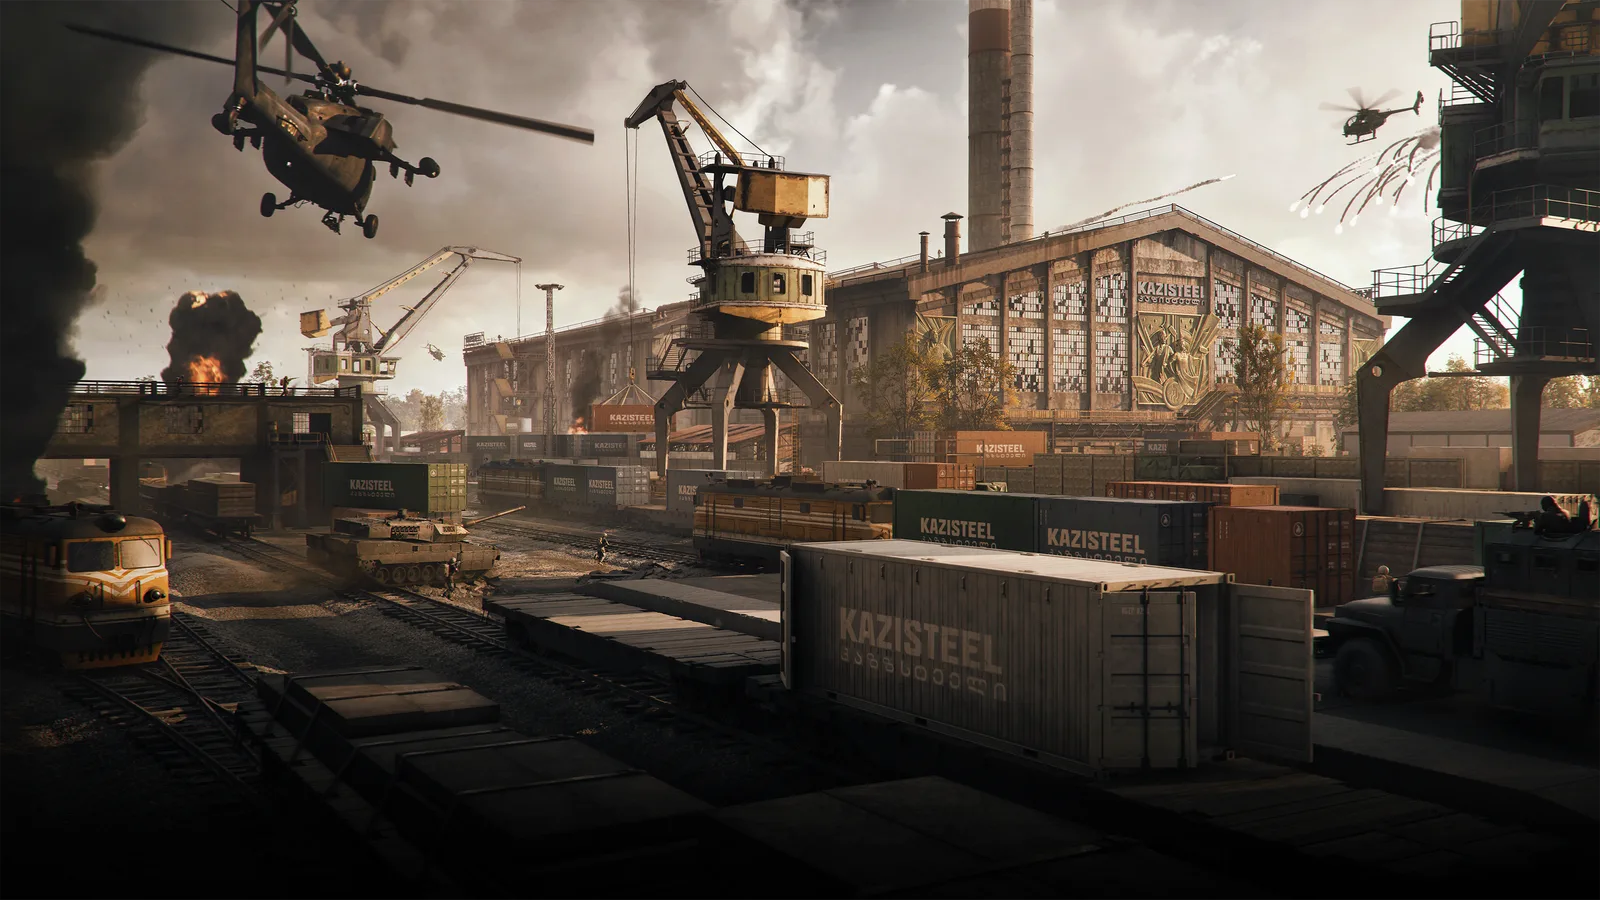
Potato looks like the obvious pick if you want smoke and explosions to hide fewer enemies. The config shows why it is not:
- The setting skips gameplay effects. The game excludes smoke and muzzle flashes from it, so an
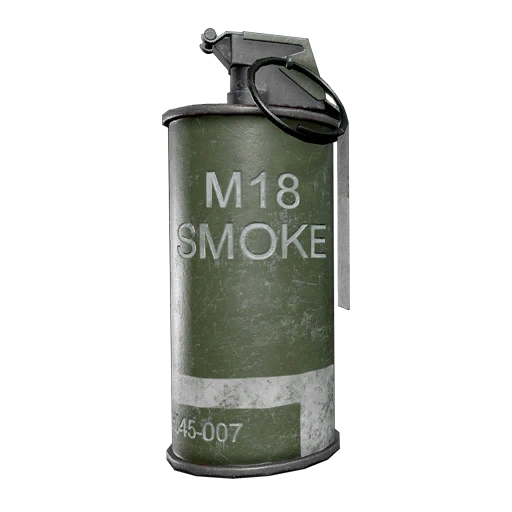 M18 Smoke Grenade: White blocks the same view on every tier. If your own muzzle flash bothers you, fit a
  flash hider or a suppressor.
 - Low already sets the ambient particle rate (dust, sparks, debris) to zero, exactly like Potato. Potato goes one step further and turns off tracer interpolation, so tracers move at the 30 Hz simulation rate and stutter across the screen.
Pick Low: you get every frame Potato saves and keep smooth tracers.
Textures and VRAM#
Texture Streaming sets how much video memory the game reserves for textures. The pool sizes come from the config; the last column is our rule of thumb.
| Texture Streaming | Texture pool | Good for |
|---|---|---|
| Potato | 310 MB | 2–3 GB cards |
| Low | 1.28 GB | 4 GB |
| Medium | 2 GB | 6 GB |
| High | 3 GB | 8 GB |
| Overkill | 6 GB | 12 GB and up |
Potato is too low for a mid-range card. It cuts the texture pool to 310 MB, a quarter of Low, so surfaces stay blurry for no real gain. On a 6 GB card take Medium, on 4 GB take Low.
- World, Character, Effects textures: High. Character on High already loads full-resolution textures, so Overkill adds nothing there.
- Texture Filtering sets anisotropic filtering: off on Potato and Low, 2x on Medium, 4x on High, 8x on Overkill. Medium is a fair default. Anisotropic filtering costs little on current GPUs, so try High if roads and fields blur at shallow angles.
Launch options#
Steam → right-click WARDOGS → Properties → General → Launch Options. Separate options with spaces.
Worth adding#
| Option | What it does and when to use it |
|---|---|
-nogpucrashdebugging |
Turns off GPU crash debugging. WARDOGS ships with it switched on in its engine config, so this flag removes real overhead. Use it always, unless you are recording a GPU crash for a bug report |
-corelimit=N |
Caps how many CPU cores the engine spreads its work across. Use it if the game stutters while you stream or record on the same PC; N = your physical core count |
-ngxdisable |
Turns off NVIDIA NGX, the runtime behind DLSS and DLAA. Use it on an NVIDIA card when you do not use DLSS; it changes nothing on AMD or Intel |
Window and resolution#
| Option | What it does |
|---|---|
-fullscreen / -windowed |
Starts the game in that mode |
-Res=1920x1080 |
Starting resolution; -ResX=1920 -ResY=1080 works too |
-WinX=0 -WinY=0 |
Window position in windowed mode |
-SAVEWINPOS=1 |
Remembers the window position between launches |
Unreal Engine reads the window position only from
-WinXand-WinY.-PosXand-PosYare not engine flags and do nothing.
Troubleshooting#
| Option | What it does |
|---|---|
-nosound |
Starts without audio. If the stutter disappears, reinstall your audio driver |
-log |
Opens Unreal's live log window; release builds may strip it |
Skip these#
-NoAnalytics: skip it. It often gets recommended as a switch that turns off telemetry and saves a little CPU and network traffic. It is not a documented Unreal Engine flag, and we found no trace of it in the game's files. WARDOGS sends its analytics and login events through its own services, configured in the game's config, so there is no sign the flag switches them off. Adding it does no harm, but expect no extra frames and no change to the game's data collection.
| Option | Why skip it |
|---|---|
-precache |
Epic does not document it, and we could not confirm it in WARDOGS. The game warms its shader pipelines on its own; hitches in the first minutes of a match come from that cache filling up |
-sm5 |
The client ships only Shader Model 6 (DirectX 12) shaders, with no SM5 set to fall back on. The official minimum is a GTX 1660 or RX 590, and every card that runs WARDOGS already uses SM6 |
-sm6 |
Already the default |
Ready to copy#
Everyone:
-nogpucrashdebugging
NVIDIA card without DLSS:
-nogpucrashdebugging -ngxdisable
Streaming or recording on the same PC (8 = your physical core count):
-nogpucrashdebugging -corelimit=8
All numbers in this guide come from the Season 1 game files. Patches can move them; we will update the guide when they do. For optics, attachments and vehicles, browse the database.
 News
News