Wardogs
 Guides
WARDOGS Season 2 logistics and building: what changed for supply runs
Season 01 vs Season 02 from the game client: crate capacity, delivery pay and streaks, every build cost and restock, Drill Rig fuel, and what a typical FOB costs now.
On this page
Season 02 made building more expensive and cut the cash for each supply drop, then added streak bonuses for drivers who keep delivering. We compared the Season 01 game client with the Season 02 client, checked the official patch notes against both, and marked everything we found only in the patch notes.
Short answer. Walls, doors, gates and the L81 Mortar cost two to four times more; anti-air got cheaper. Health did not change on any structure. A typical small FOB went from 347 to 1,038 Build Supplies, but the real squeeze sits in ammo and fuel: a mortar shell costs 150 Ammo Supplies instead of 75, a Talon missile 200 instead of 50, and a Drill Rig needs 2,000 Fuel Supplies to start. Crates hold the same amounts as before. A single drop pays half of what it used to, and a long delivery streak pays more than Season 1 ever did.
Supply runs: before vs after#
Crates and pallets carry the same amounts in both clients. Every supply type (Build, Ammo, Fuel, Mechanical) stacks to 50 per cell, and a pack of 50 costs $10 at the vendor.
| Season 1 | Season 2 | |
|---|---|---|
 Small Crate / Small Crate / 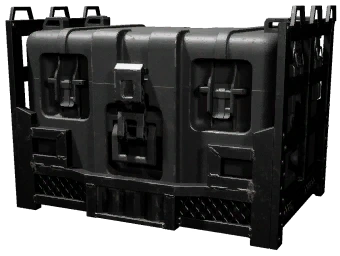 Small Armored Crate Small Armored Crate |
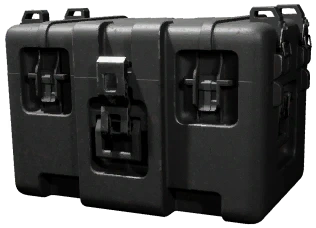
24 cells, up to 1,200 supplies | Same |
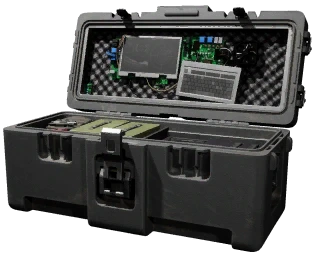 Large Crate / Large Crate / 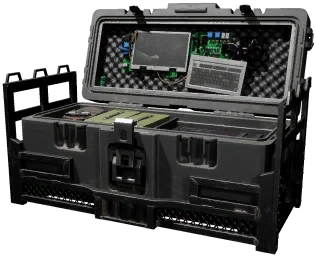 Large Armored Crate Large Armored Crate |
35 cells, up to 1,750 supplies | Same |
| Supply pallets (Build, Ammo, Fuel, Mechanical) | Arrive full, about 1,800 of one supply | Same |
| Pallet unlocks | All four free from the start | 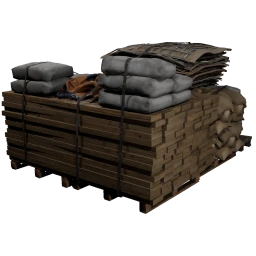 Build Supply Pallet still free; Build Supply Pallet still free; 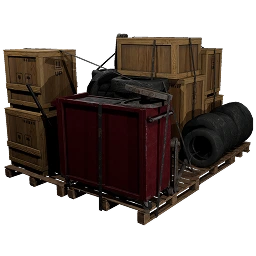 Mechanical Mechanical  5 $10k, 5 $10k, 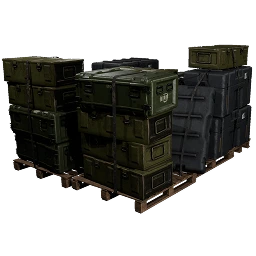 Ammo Ammo  9 $25k, 9 $25k, 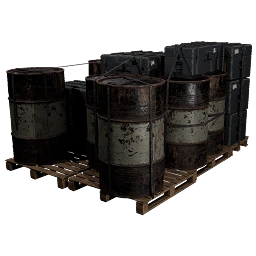 Fuel Fuel  16 $50k 16 $50k |
| Large Crate unlock |  16 16 |
17 |
| Deploy pay in a zone: small / large / pallet | $500 / $1,000 / $2,500 | $250 / $500 / $1,250 |
| Deploy streak | None | +$100 per crate in a row, +$250 per pallet in a row (inside a zone), ten steps max |
| Best possible drop: small / large / pallet | $500 / $1,000 / $2,500 | $1,250 / $1,500 / $3,750 |
| Return trip to the safe zone | $250 per survivor, at least 3 counted | $150 + $50 per trip in a row (ten steps max), at least 2 survivors counted |
| Passenger delivered by a ground driver | $500 | $350 + $25 per passenger in a row (25 steps max) |
How the streak math works: the client adds the streak bonus ($50 per crate, $125 per pallet) to the base pay first and then applies the zone multiplier of 2. The patch notes quote the bonus before the multiplier as "+$50 per crate". A large crate matches its old $1,000 on the sixth crate in a row, and a pallet matches its old $2,500 on the sixth pallet. A drop outside the Hot Zone or a control zone pays nothing, in both seasons. We could not find in the client data what breaks a streak.
Crate capacity counts full stacks of 50 in every cell, and the pallet amount comes from the pallet's 36 cells. The FOB calculator uses the same numbers and marks them as client defaults that nobody has checked in a match yet.
Which vehicles carry what#
Crate slots did not change between seasons. Season 2 adds one new carrier, the 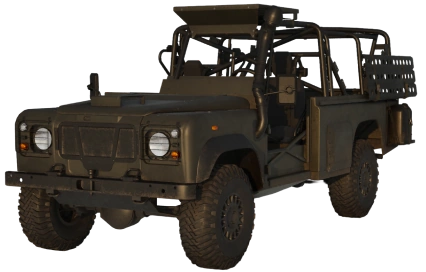 Wolf-110.
| Vehicle | Small crates | Large crates | Pallets |
|---|---|---|---|
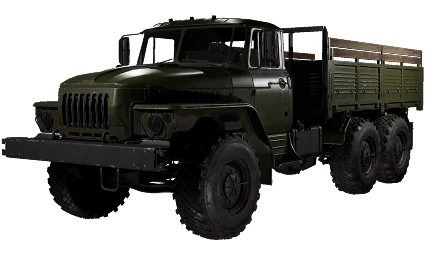 URAL, URAL, 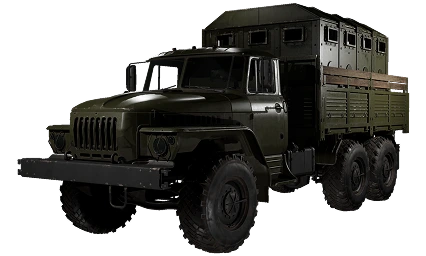 Ural Defender, Ural Defender, 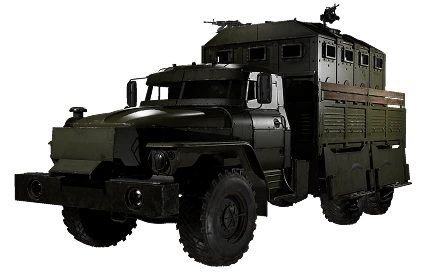 Ural Defender [M249] Ural Defender [M249] |
4 | 4 | 2 |
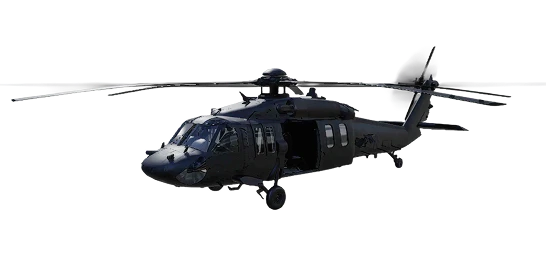 Z20 Lakota, Z20 Lakota, 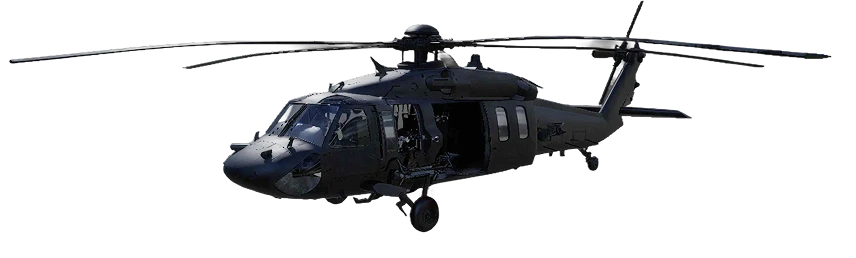 Z20 Lakota [Miniguns] Z20 Lakota [Miniguns] |
2 | 2 | 1 |
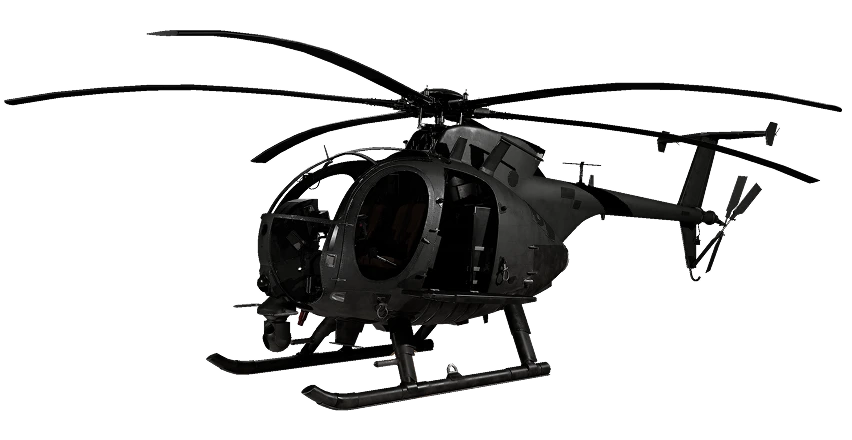 MH-6 MH-6 |
2 | 0 | 0 |
 Kodiak (all three variants), Kodiak (all three variants), 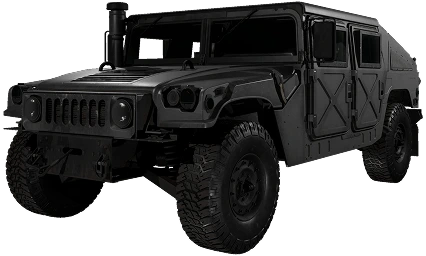 Humvee (all three), Wolf-110, Humvee (all three), Wolf-110, 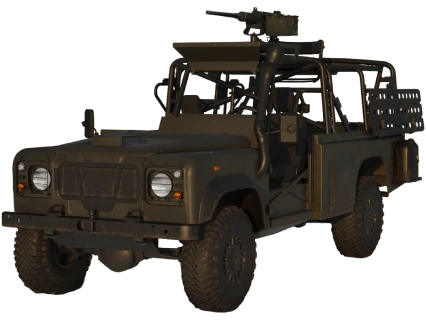 Wolf-110 [M2 Browning] Wolf-110 [M2 Browning] |
1 | 1 | 0 |
We worked these counts out from the size of each crate slot. A URAL with four Large Crates moves up to 7,000 supplies in one trip; a Kodiak moves 1,750.
![Wolf-110 and Wolf-110 [M2 Browning]](/images/articles/season-2-patch-notes/s2-08.webp)
A session of supply runs#
The chart below plays a whole session for both seasons with the client rewards. Pick the vehicle, cargo, cycle length and how many trucks you expect to lose; dashed lines show the same session with those losses.
Supply runs: net cash over a session
URAL with 2 × Build Supply Pallet, 8-minute cycles, 80 minutes.
Season 2 against Season 1: +$11,250 on clean runs, -$13,900 when 2 trucks are lost.
- Season 1
- Season 2
- Season 1, 2 trucks lost
- Season 2, 2 trucks lost
| Season 1 | Season 2 | Season 1Season 1, 2 trucks lost | Season 2Season 2, 2 trucks lost | |
|---|---|---|---|---|
| Crate and pallet drops | $50,000 | $25,000 | $40,000 | $20,000 |
| Delivery streak | $0 | $36,250 | $0 | $9,000 |
| Build Supplies deposited at a FOB | $14,400 | $14,400 | $11,520 | $11,520 |
| Return to the safe zone | $7,500 | $3,000 | $6,000 | $2,400 |
| Return streak | $0 | $4,500 | $0 | $700 |
| Gross | $71,900 | $83,150 | $57,520 | $43,620 |
| Trucks | −$5,000 ×1 | −$5,000 ×1 | −$15,000 ×3 | −$15,000 ×3 |
| Cargo | −$8,000 | −$8,000 | −$8,000 | −$8,000 |
| Net | $58,900 | $70,150 | $34,520 | $20,620 |
Rewards and prices come from the game client: Season 1 from the last Season 1 data, Season 2 from the current data, on a full server.
The crate streak is added to the base pay before the zone multiplier of 2, as the client calculates it.
Cargo is bought every cycle, crates filled with full stacks of their supply. The truck is bought at the start and again after each loss.
Build Supplies unloaded into a FOB pay on top of the drop reward: our reading of the client rewards.
Patch notes only A lost truck is destroyed before it delivers, losing that cycle’s cargo and pay, and both streaks restart. The patch notes count deliveries “in a row”; the client data does not say what breaks a streak.
Not counted: sales from your crates, XP, passengers and kills.
Building costs: before vs after#
Costs are in  Build Supplies. Health comes from the Season 2 client and matches Season 1 for every structure that existed then.
| Buildable | Season 1 | Season 2 | Change | Hammer | Health |
|---|---|---|---|---|---|
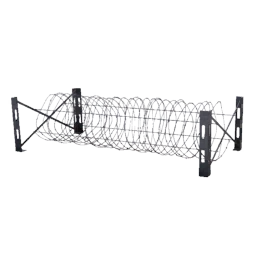 Barbed Wire Barbed Wire |
7 | 7 | 0% | Small | 250 |
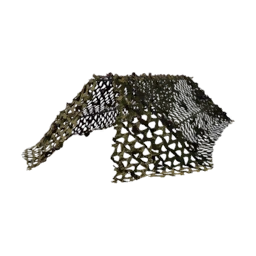 Recon Tent Recon Tent |
7 | 7 | 0% | Small | 300 |
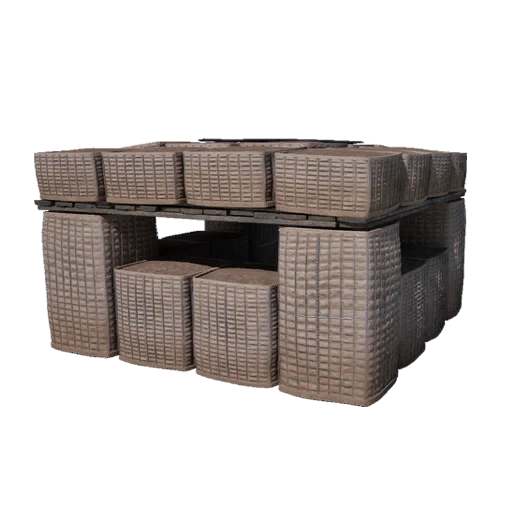 Sandbag Wall Sandbag Wall |
15 | 15 | 0% | Small | 735 |
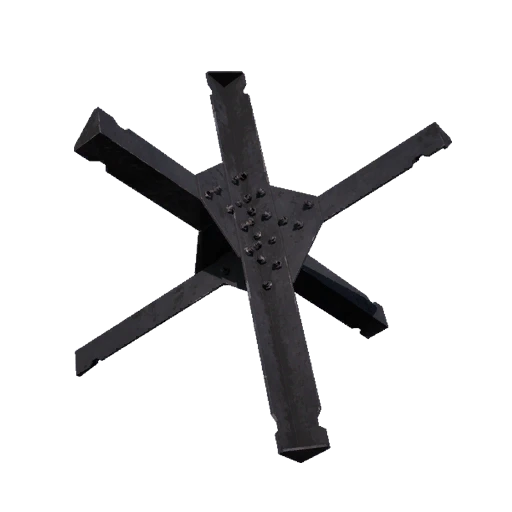 Hedgehog Hedgehog |
22 | 22 | 0% | Small | 4,500 |
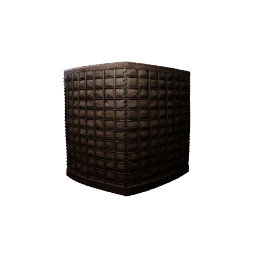 Hesco Block (Small) Hesco Block (Small) |
15 | 15 | 0% | Small | 1,600 |
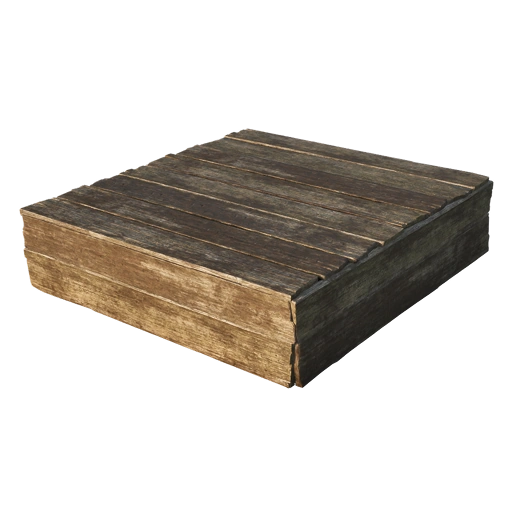 Wooden Step Wooden Step |
new | 15 | new | Small | 735 |
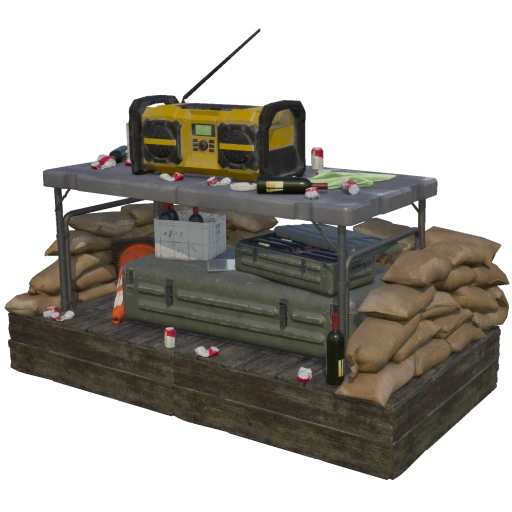 Builder's Radio Builder's Radio |
20 | 20 | 0% | Small | 1,000 |
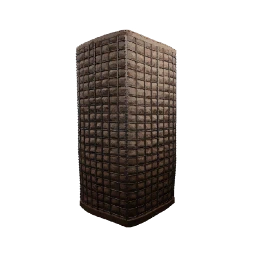 Hesco Block (Large) Hesco Block (Large) |
22 | 22 | 0% | Medium | 2,250 |
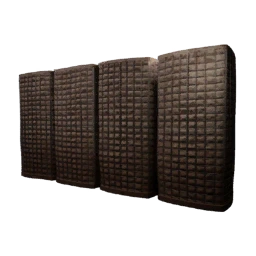 Hesco Wall Hesco Wall |
75 | 75 | 0% | Medium | 4,600 |
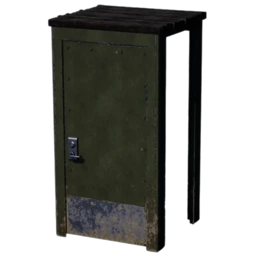 Door Door |
22 | 80 | +264% | Medium | 2,200 |
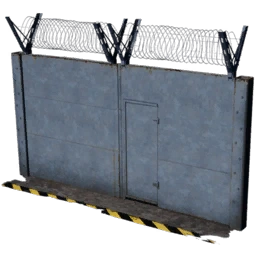 Gate Gate |
85 | 200 | +135% | Medium | 5,320 |
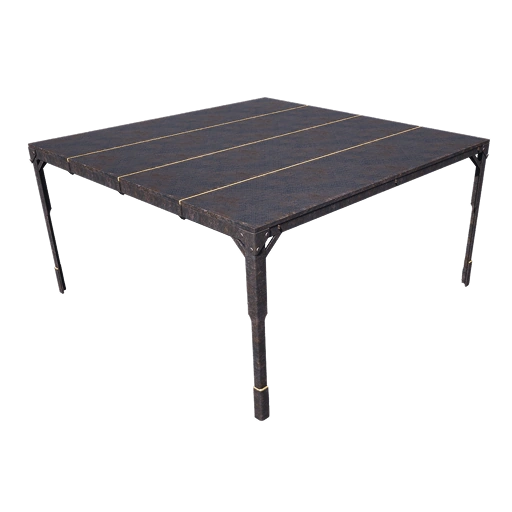 Large Shelter Large Shelter |
new | 250 | new | Medium | 2,250 |
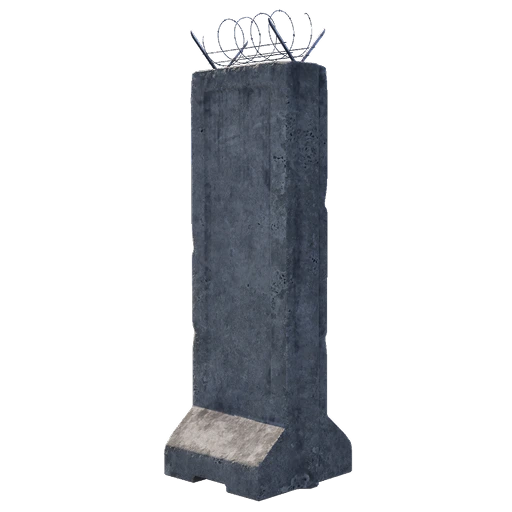 Bremer Wall Bremer Wall |
15 | 32 | +113% | Large | 6,500 |
| Bunker |
100 | 200 | +100% | Large | 5,000 |
 Indirect Fire Shelter Indirect Fire Shelter |
100 | 200 | +100% | Large | 5,000 |
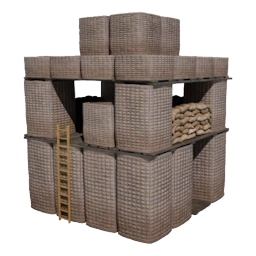 Recon Tower Recon Tower |
100 | 200 | +100% | Large | 5,000 |
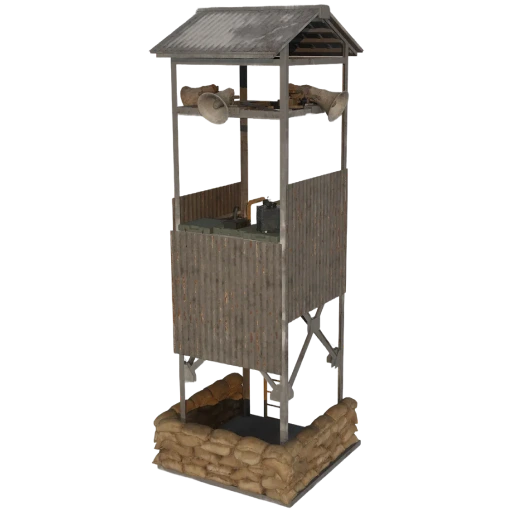 Loudspeaker Loudspeaker |
100 | 200 | +100% | Large* | 1,000 |
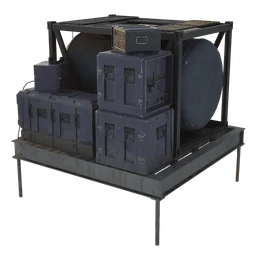 Refuel Station Refuel Station |
200 | 200 | 0% | Large | 1,600 |
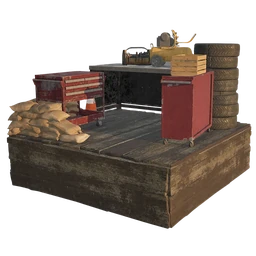 Repair Station Repair Station |
200 | 200 | 0% | Large | 1,600 |
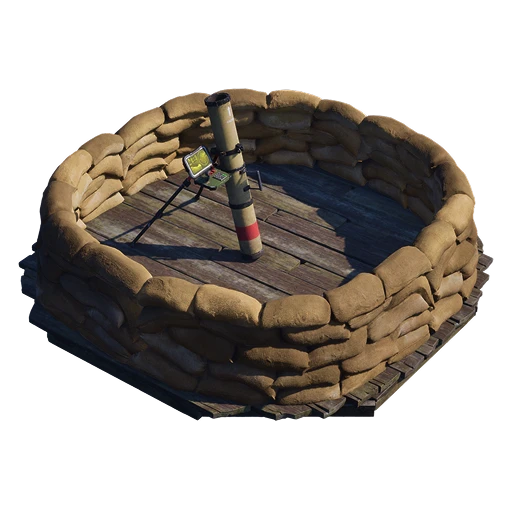
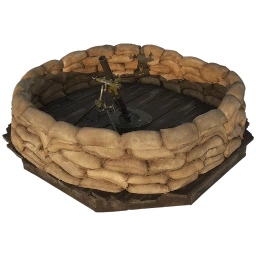 L81 Mortar L81 Mortar |
150 | 600 | +300% | Large* | 3,000 |
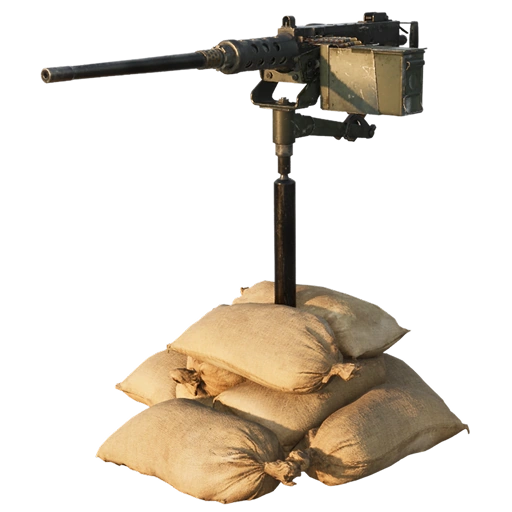
 Stingray Stingray |
150 | 650 | +333% | Large* | 3,000 |
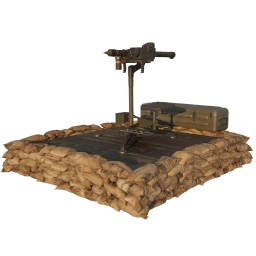
 MG Nest MG Nest |
new | 650 | new | Large* | 3,000 |
 Talon 9K-SAM Talon 9K-SAM |
1,000 | 650 | −35% | Large* | 3,000 |
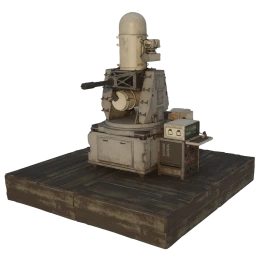 Vanguard CIWS Vanguard CIWS |
1,500 | 1,200 | −20% | Large* | 5,000 |
 Drill Rig Drill Rig |
2,250 | 2,750 | +22% | Large | 2,500 |
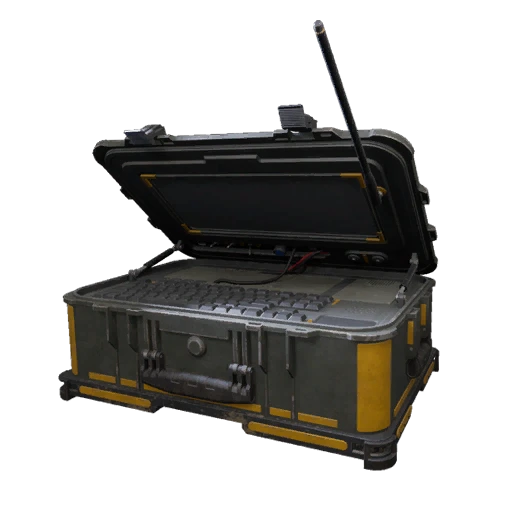 FOB FOB |
30 | 30 | 0% | none | 15,000 |
* The client data has no hammer tier for emplacements and the Loudspeaker. The patch notes put the MG Nest on the 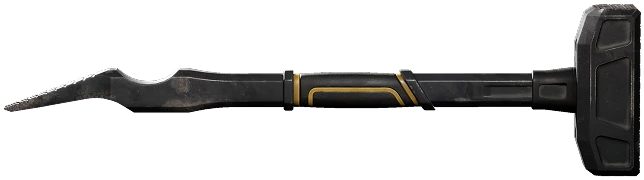 Large Hammer, and the FOB calculator assumes the same tier for the rest. The
  Small Hammer builds small pieces, the
  Medium Hammer adds medium ones (
 3, $25k), and the Large Hammer covers everything (8, $75k). None of these tiers moved between seasons.
The Loudspeaker went from 100 to 200 in the client, but the patch notes leave it out. The notes call the Indirect Fire Shelter "air raid shelter", the Recon Tower "crow's nest" and the Drill Rig "Hot Zone Magnet". Floors, roofs, the Door top segment and the Gate ramp kept their costs.
Two build-speed changes appear only in the patch notes: the Medium Hammer now adds less per swing, and critical spots give a smaller bonus. The Large Hammer builds at the old rate.
Before the patch, a leak from a creator briefing listed Door 250, Gate 500 and L81 800. The client ended at Door 80, Gate 200 and L81 600. We compared every leaked number in our leak article.
New buildables#
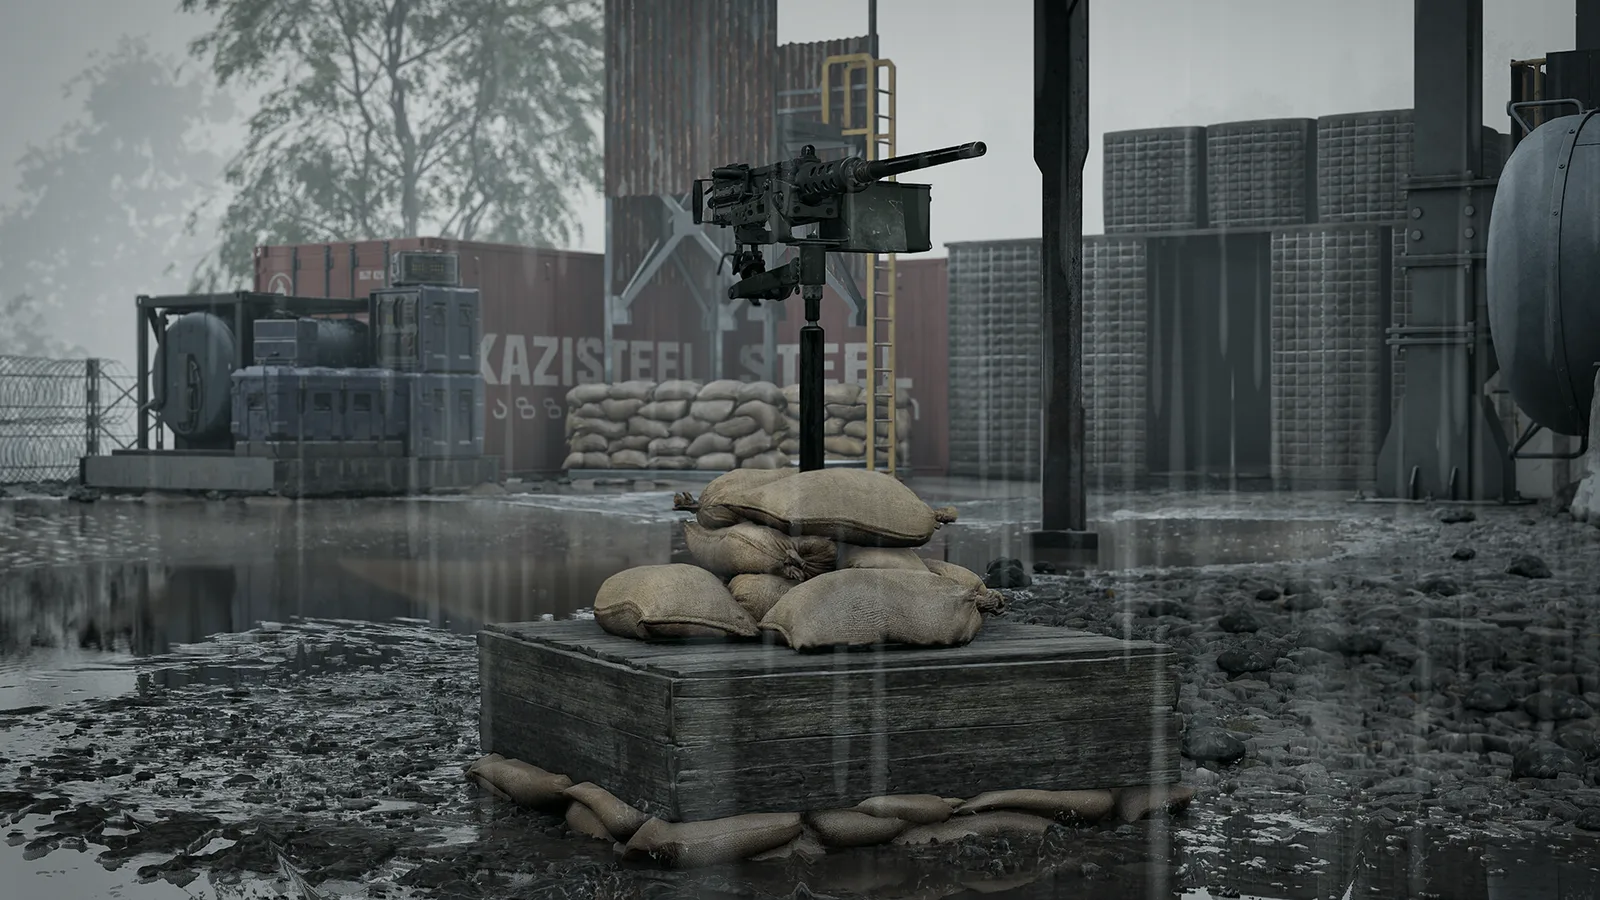
- MG Nest, 650 Build Supplies, 3,000 health. A sandbagged M2 Browning .50 cal that reloads from the FOB's
 Ammo Supplies: 200 Ammo for 60 rounds.
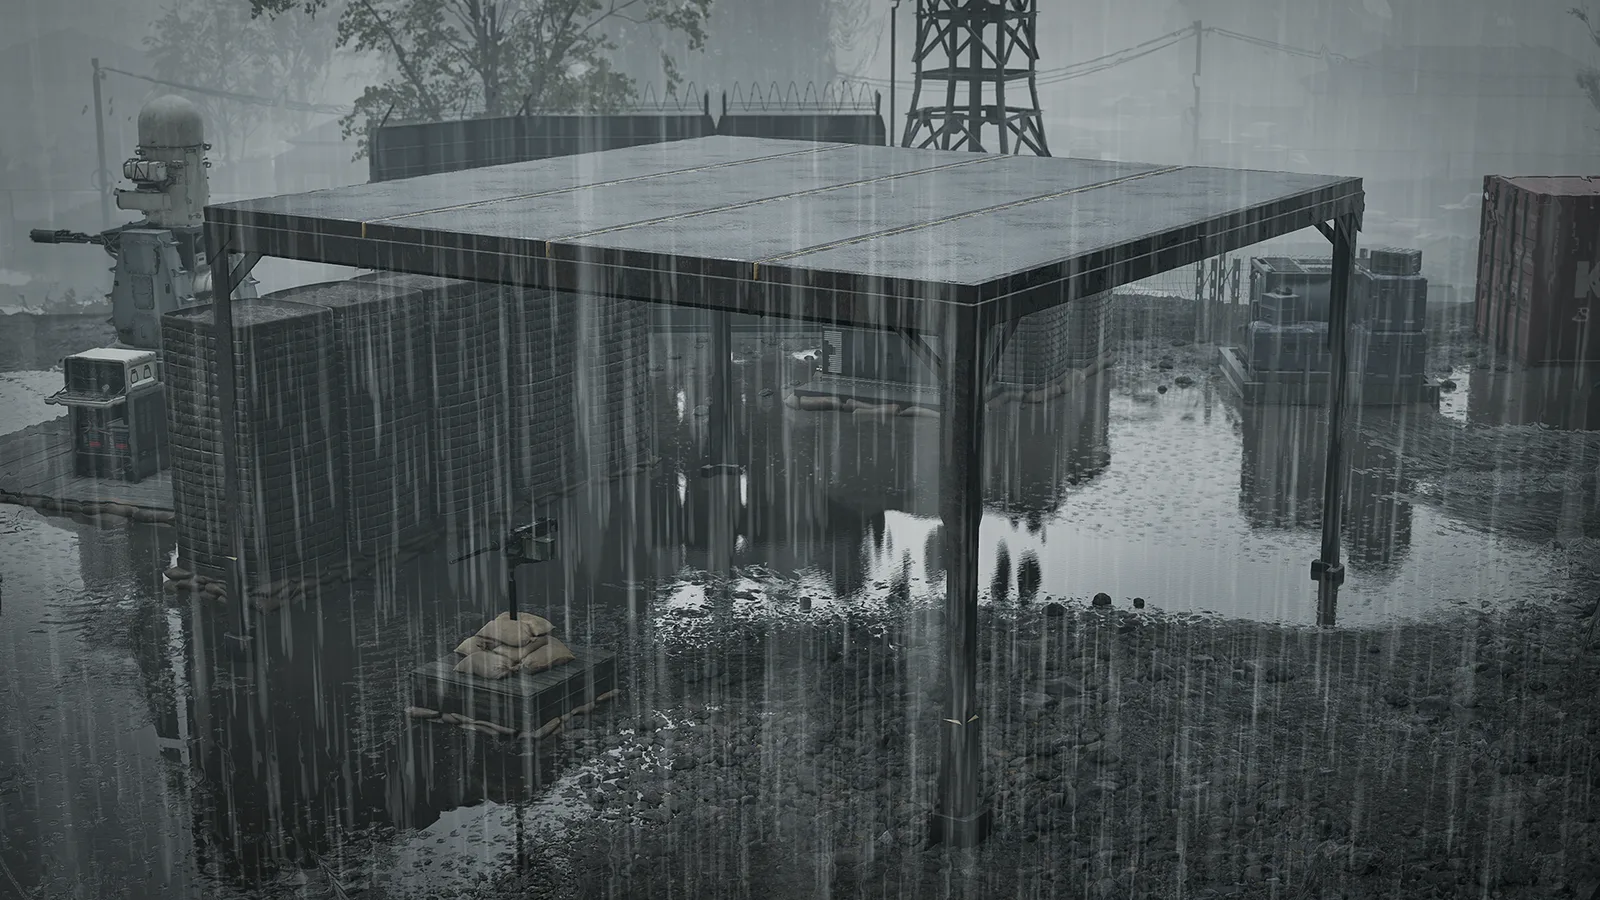
 - Large Shelter, 250 Build Supplies, 2,250 health, Medium Hammer. A metal roof for vehicles, emplacements or a second floor.
- Wooden Step, 15 Build Supplies, 735 health, Small Hammer. A quarter-height step; stack four to match the height of a Hesco Block.
Restock: what each shot costs now#
Emplacements turn the FOB's supplies into ammunition when you reload them. Both clients contain these numbers.
| Emplacement | Supply | Season 1 | Season 2 | Shots per full pallet (S1 → S2) |
|---|---|---|---|---|
| L81 Mortar |
Ammo | 75 per shell | 150 per shell | 24 → 12 |
| Talon 9K-SAM |
Ammo | 50 per missile | 200 per missile | 36 → 9 |
| Vanguard CIWS |
Ammo | 250 per 500 rounds | 250 per 500 rounds | 3,500 rounds either way |
| MG Nest |
Ammo | new | 200 per 60 rounds | 540 rounds |
| Stingray |
Mechanical | 900 per drone | 900 per drone | 2 drones either way |
The client lists the mortar, Talon and Stingray restocks without a round count; we read them as one shot each, the same as the calculator. The Talon's reload going from 2 to 5 seconds and the new mortar loading animation come from the patch notes; the client export we compare does not include those timings.
A new FOB starts with 1,250 Build Supplies and 100 each of Ammo, Fuel and Mechanical Supplies (Season 2 client). That stock does not cover a single Season 2 mortar shell, and in Season 1 it covered one.
Drill Rig fuel in plain words#
The Drill Rig pulls the Hot Zone to itself while it burns  Fuel Supplies from the FOB. Season 2 makes each unit of fuel last a shorter time and raises the amount you need to switch it on.
| Season 1 | Season 2 | |
|---|---|---|
| Fuel needed to start | 1,500 | 2,000 |
| Pull time per 1,000 fuel | 50 s | 30 s |
| Most fuel it holds | 7,500 | 10,000 |
| Longest run on a full tank | 375 s (6 min 15 s) | 300 s (5 min) |
| Fuel burned per minute | 1,200 | 2,000 |
The Season 2 column comes from the client. Season 1 had no fuel fields in the client export we keep, so that column is from the patch notes; the numbers agree with each other (7,500 × 0.05 s = 375 s).
In practice: the minimum 2,000 fuel buys one minute of pull. A Fuel pallet holds about 1,800 and a Large Crate 1,750, so one of either plus the FOB's starting 100 falls short of the 2,000 you need. Bring two crates, or a pallet and a small crate. A full tank of 10,000 is 200 packs, $2,000 and six pallets. The Drill Rig itself also costs 500 more to build, and the patch notes add a longer cooldown after a rig is destroyed (not in the client data we read).
Worked example: a typical FOB in Season 1 vs Season 2#
The FOB itself, four Bremer Walls, a Gate, a Door and an L81 Mortar, plus ammo for 20 shells. Packs are 50 supplies for $10.
| Season 1 | Season 2 | |
|---|---|---|
| Build Supplies | 347 | 1,038 |
| Build Supply packs (cash) | 7 ($70) | 21 ($210) |
| Ammo for 20 mortar shells | 1,500 | 3,000 |
| Ammo packs (cash) | 30 ($300) | 60 ($600) |
| Total supplies | 1,847 | 4,038 |
| Total packs (cash) | 37 ($370) | 81 ($810) |
| Large Crates if you bring all of it | 2 | 3 |
| Kodiak / Humvee / Wolf-110 trips | 2 | 3 |
| URAL trips | 1 | 1 |
With a new FOB in Season 2, the 1,250 starting Build Supplies cover the whole build. You still have to haul 2,900 Ammo for the 20 shells: two Large Crates, or two Ammo pallets on a URAL or one pallet plus a crate. Season 1's starting stock is not in our Season 1 data, so the Season 1 column assumes you bring everything.
A heavier anti-air base changed less. The same base with a Talon 9K-SAM, a Vanguard CIWS and a Bunker cost 2,947 in Season 1 and costs 3,088 now (+5%), because the anti-air got cheaper. Add an MG Nest and it reaches 3,738.
Try your own base in the FOB calculator. It shows the Season 1 total next to the Season 2 one, the hammer you need, and how many crates or pallets carry the rest after the FOB's starting stock.
Tips for supply drivers#
- Keep delivering. Your first crate pays half of Season 1. A large crate or pallet catches up with its old pay on the sixth drop in a row and beats it from the seventh; a small crate beats it from the fourth.
- Small crates gain the same $100 per streak step as large ones. At a full streak a small crate pays $1,250, so an MH-6 with two small crates earns well per run.
- Deliver inside the Hot Zone or a control zone. Drops anywhere else earn no cash.
- Drive back. The round trip to the safe zone carries its own streak, +$50 per trip in a row.
- Protect armored crates. They now pay the enemy more to destroy: twice as much for the small one, 60% more for the large. Plain crates pay 40% less and pallets 20% less.
- The Ammo, Fuel and Mechanical pallets need WARDOG levels now (5, 9 and 16). Until then, carry those supplies in Small or Large Crates.
- Patch notes only: selling from your crate now gives diminishing returns per buyer, and deliveries scale with the value inside. In the client data we found that scaling on the reward for destroying a crate, not on the cash for delivering one.
Tips for builders#
- Health did not change, so the pricier walls protect no better than before. The Hesco family and Sandbag Walls kept their prices, and among walls the Bremer Wall still gives the most health per supply (6,500 for 32).
- Doors cost almost four times more. Plan one entrance and close it behind you: closing a friendly FOB door now pays $75 inside a control zone and double that in the Hot Zone.
- The
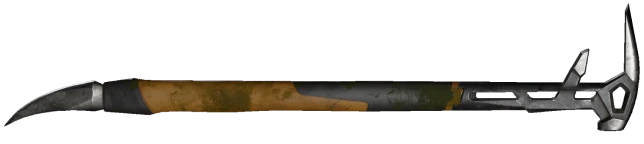 Halligan Bar breaches doors and gates, and hammers no longer do (patch notes).
 - Spend fuel and ammo on purpose. A mortar pallet now fires 12 shells, a Talon pallet 9 missiles.
- Build anti-air when the enemy flies: the Talon and the CIWS cost less to place than in Season 1. Talon missiles cost four times more Ammo; CIWS rounds cost the same.
- Use the Wooden Step to level foundations on slopes, and the Large Shelter to cover the mortar or a vehicle bay.
Further reading#
- FOB calculator: costs, hammer, crates and pallets for any base.
- What changed in Season 02: every changed number between the two clients.
- Season 2 patch notes: Building Balance, Buildable Weapons Balance and Logistics sections.
- Season 2 building costs leak: the pre-release numbers checked against the client.
Sources#
- Game client data: Season 01 and Season 02 (buildable costs, health, hammer tiers, restock, Drill Rig fuel, crate and pallet storage, vehicle crate slots, unlocks, delivery rewards).
- Season 2 patch notes on Steam, BULKHEAD, October 2026.
 News
News