Wardogs
 Guides
WARDOGS Season 2 first week: what to level and where the money is
What to level first in WARDOGS Season 2, where the cash and XP are in week one, and which unlocks, rewards and ammo numbers changed. Every number is checked against verified Season 2 data.
On this page
Season 2 wiped cash, levels and XP on 15 October, and half the unlock tree moved. This guide covers what to level first, where the money is in the first week, and which numbers from pre-launch videos and posts no longer match the game. Every number is checked against verified Season 2 data.
Short answer. Pick one role track and stay on it until level 20 (111,500 XP). Recon earns the most for the least risk if you spot over the Hot Zone. Supply runs still pay, but a single drop pays half of Season 1 and streaks make up the rest. Use AP rounds against armored players and keep HP rounds for targets without armor.
What the wipe kept#
| Season 2 | |
|---|---|
| Cash, levels, XP | Reset on 15 October |
| Gold Bars, cosmetics | Kept. Leftover Season 1 cash could be exchanged for Gold Bars at a floating rate |
| Gold Market | Unlocks at  35 for $150k 35 for $150k |
| Skills | Not in Season 2. BULKHEAD is considering turning past seasons' XP into skill points later, without a promise |
| Season length | BULKHEAD aims for about six weeks; there is no fixed end date |
Pick one track#
Every role track needs the same XP: 25,000 for level 10, 54,750 for level 15 and 111,500 for level 20. If you split XP between three roles in week one, you reach the key unlocks days after the players who did not. Choose the track whose level 20 to 35 gear you want and log your levels in the progression tracker.
| Track | Early goals | Later goals |
|---|---|---|
| Recon |  Range Finder Range Finder  8, 8,  Mosin Nagant 10 Mosin Nagant 10 |
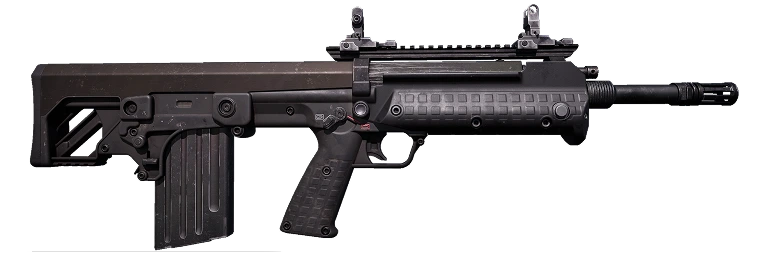 BMR-308 20, BMR-308 20,  M14 25, M14 25,  Ghillie Body Suit 26, Ghillie Body Suit 26, 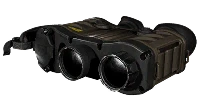 Infrared Range Finder 32 Infrared Range Finder 32 |
| Support | 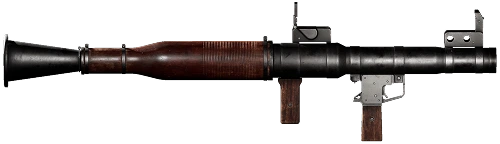 RPG-7 RPG-7  6, 6, 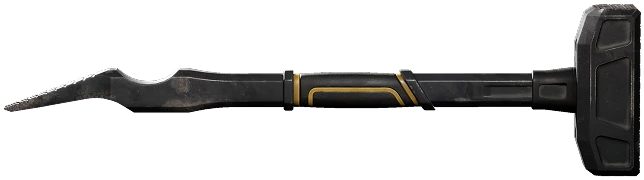 Large Hammer 8, Large Hammer 8, 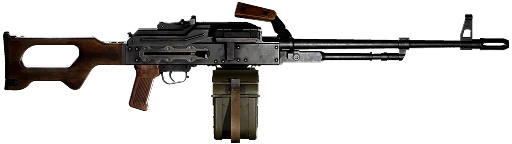 PKM 15 PKM 15 |
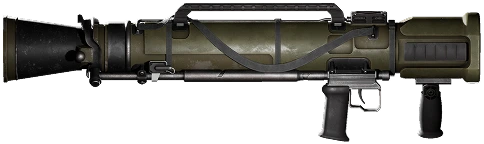 MAAWS 18, MAAWS 18, 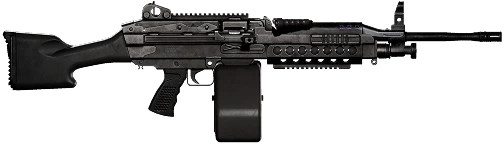 M249 SAW 20, M249 SAW 20, 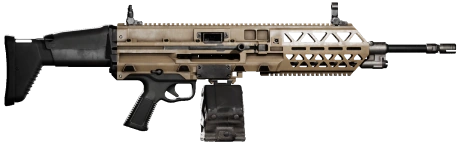 Evo-3 Ultra 30, Evo-3 Ultra 30, 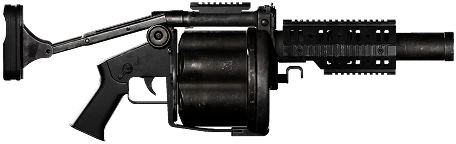 MGL-40 35 MGL-40 35 |
| Medic | 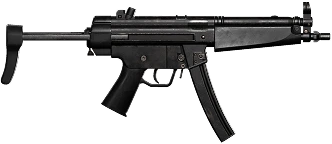 MP5 MP5  4, 4, 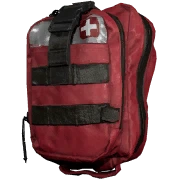 Medical Bag 14, Medical Bag 14, 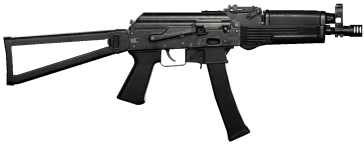 PP-19 Vityaz 15 PP-19 Vityaz 15 |
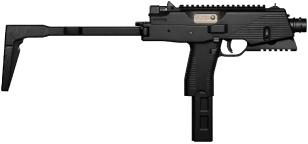 AMP-9 20, AMP-9 20, 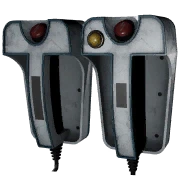 Defibrillator 22, Defibrillator 22, 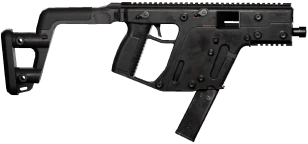 Super-45 35 Super-45 35 |
| Assault | 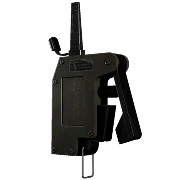 Remote Detonator with C4 Remote Detonator with C4  4, 4, 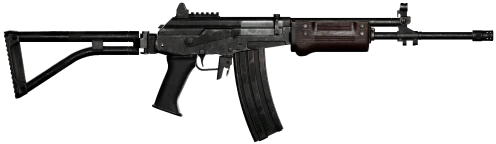 Galil 10, Galil 10, 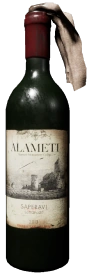 Molotov Cocktail 13 Molotov Cocktail 13 |
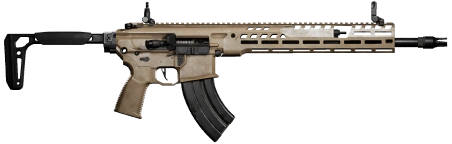 TCX-SPR 20, TCX-SPR 20, 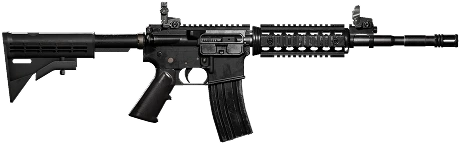 M4 28, M4 28, 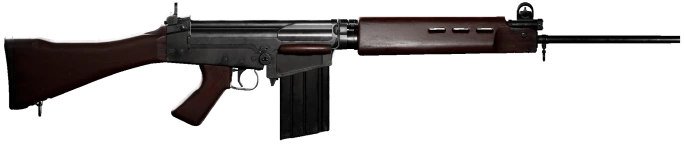 FAL 35 FAL 35 |
| Driver | 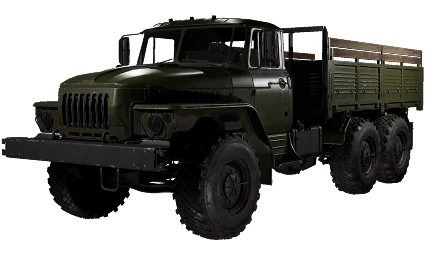 URAL URAL  3, 3, 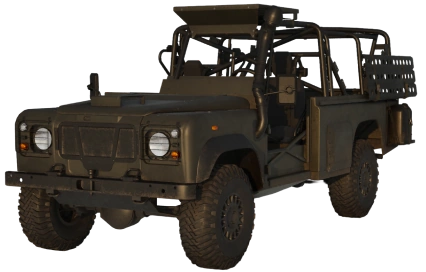 Wolf-110 8, Wolf-110 8, 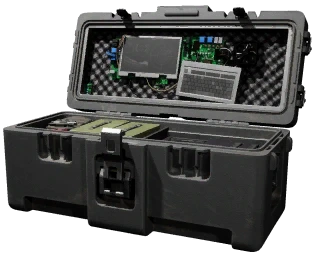 Large Crate 17 Large Crate 17 |
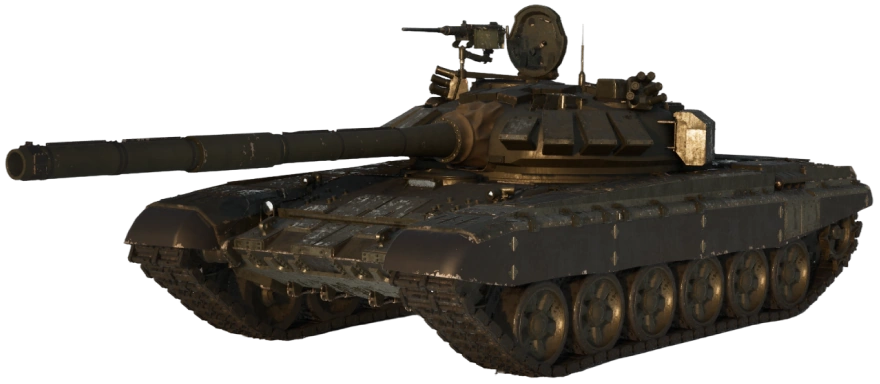 T-72B3 20, T-72B3 20, 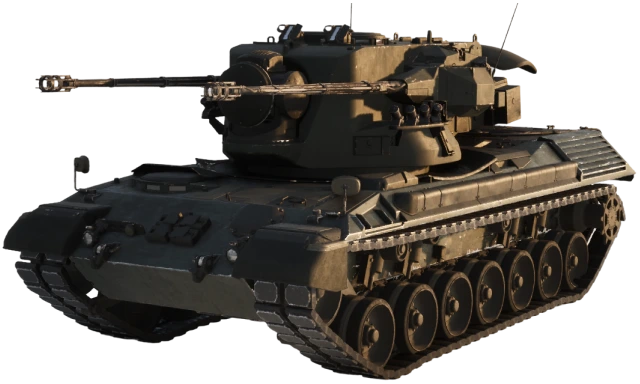 Flakpanzer Gepard 25, Flakpanzer Gepard 25, 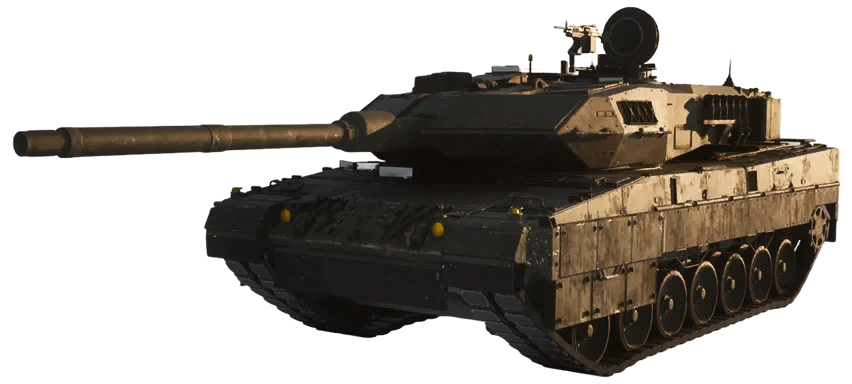 L2A6 35 L2A6 35 |
| Pilot |  AH-6M [Miniguns] AH-6M [Miniguns]  8, 8, 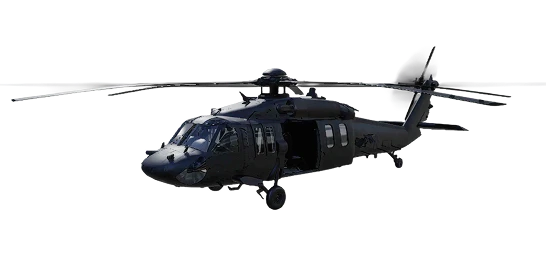 Z20 Lakota 10, Z20 Lakota 10, 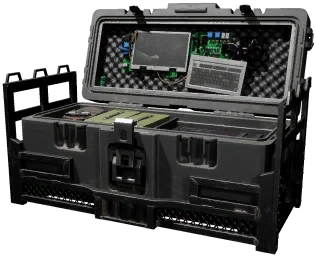 Large Armored Crate 15 Large Armored Crate 15 |
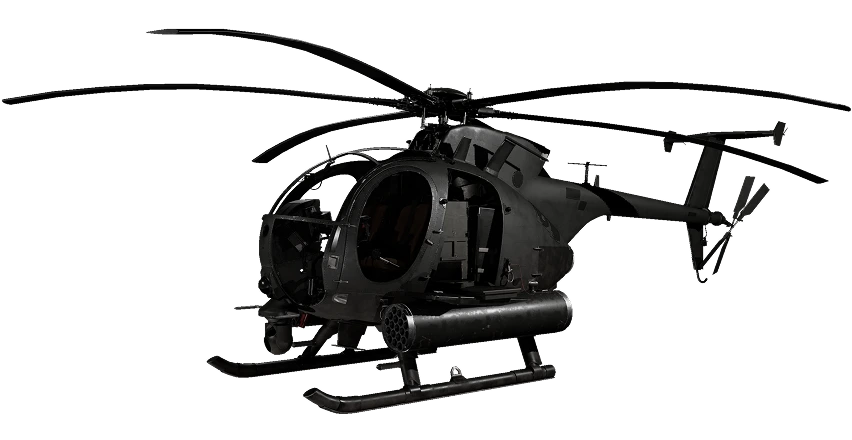 AH-6R [Rockets] 20, AH-6R [Rockets] 20, 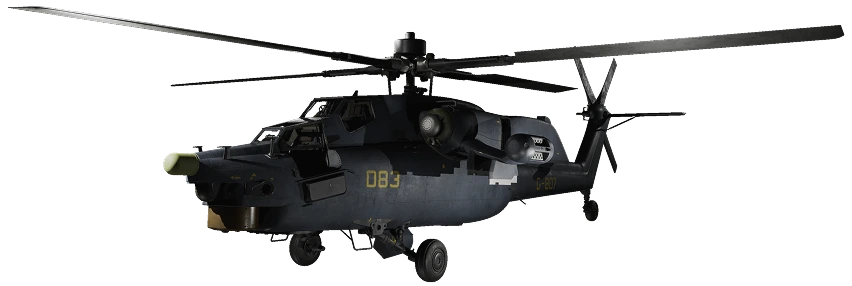 Havoc 35 Havoc 35 |
Unlock prices and the full list for every level are in the progression tables.
Driver: on 15 October BULKHEAD slowed Driver XP back to the Season 1 pace with a server-side fix (details). The unlock levels did not change, but the tanks take longer to reach.
Unlocks that moved#
Several early unlocks changed place in Season 2. Pre-launch guides often list them in the wrong spot.
| Item | Season 2 |
|---|---|
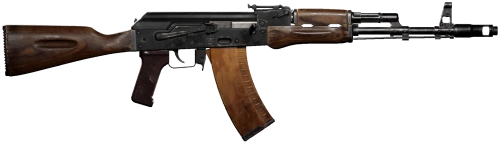 AK74 AK74 |
Free from the start, $800 to buy (was $1,600) |
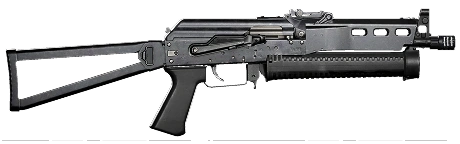 PP-19 Bizon PP-19 Bizon |
Free from the start; the Medic's first SMG |
| AMP-9 |
Still in the game, now 20 for $75k |
| Medical Bag |
Earlier: 24 → 14 |
| Defibrillator |
Later: 11 → 22, $110k |
| PKM |
Earlier: 30 → 15 |
| Evo-3 Ultra |
30, fires .308 Win |
| TCX-SPR |
20, fires 7.62x39mm, not .308 |
| M4 |
Later: 20 → 28 |
| Mosin Nagant |
Takes only the 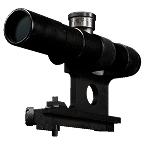 PU 91/30 Scope (3.5x), 10 PU 91/30 Scope (3.5x), 10 |
Where the money is in week one#
Spotting#
Recon gets paid when other players kill what you marked. Base amounts:
| Action | Cash | XP |
|---|---|---|
| Spot an enemy soldier | $100 | 25 |
| Spotted soldier killed | $400 | 150 |
| Spotted T-72B3 destroyed | $2,400 | 200 |
| Spotted L2A6 destroyed | $3,300 | 200 |
| Spotted Havoc destroyed | $4,200 | 150 |
| Spotted FOB destroyed | $2,000 | 250 |
The kill reward doubles when the target dies in a control zone and quadruples in the Hot Zone: a spotted soldier killed in the Hot Zone pays you $1,600. If the third team gets the kill, you get a quarter. Spotting the same soldier a second time pays half, and a third time pays nothing. Find a spot that overlooks the Hot Zone and keep quiet. One shot from you reveals a position worth more than the kill.
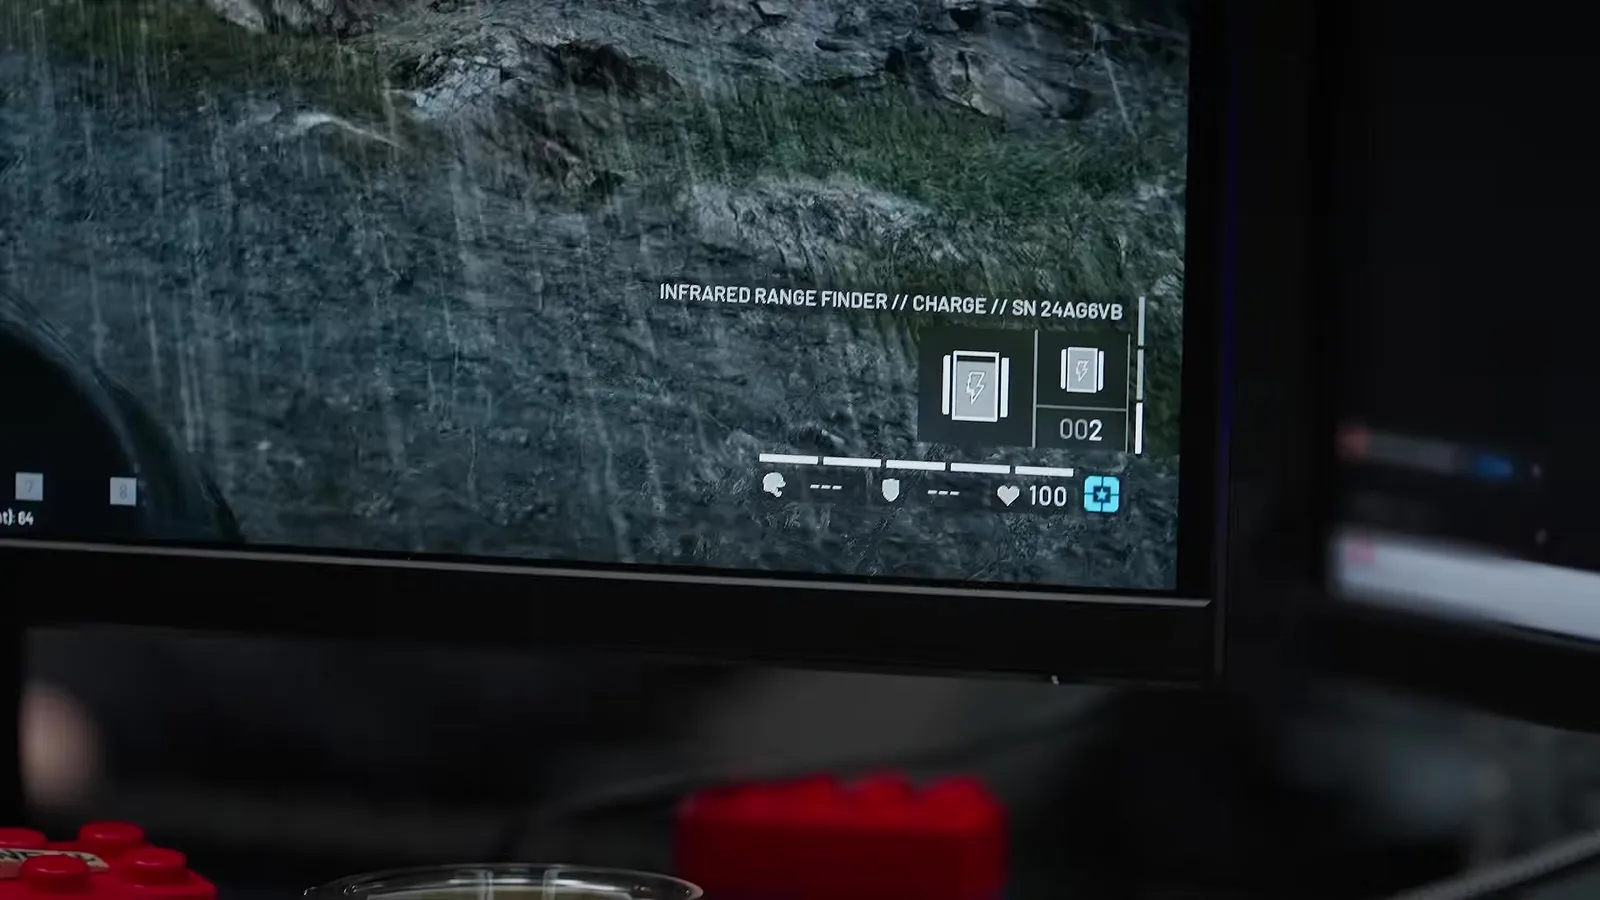
The Infrared Range Finder (32, $3,200) now runs on batteries. One lasts about 80 seconds of use, according to the patch notes. It takes the regular 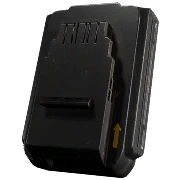 Battery ($150) and the
 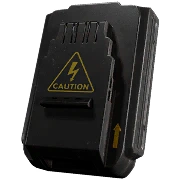 High Capacity Battery (
 46). Rain shortens spotting range.
Logistics#
A supply drop pays half of what it paid in Season 1, plus a bonus for each drop in a row. Our logistics and building guide has the full numbers. Two details matter for leveling:
- A large crate gives 400 XP when it counts toward Driver (dropped from a ground vehicle) and 300 XP from an aircraft, where it counts toward Pilot. Two large crates from a Z20 Lakota make 600 XP, not 800.
- The game scales crate XP by the value of what is inside, and the lowest step of that curve is zero. A crate with one cheap item in it earns next to nothing, so fill your crates. We have not tested this in a match.
Selling from your crates#
Teammates can still buy gear from your crates, but your markup shrinks with each sale to the same buyer. After ten sales to one player you only get back what the item cost. Sales to the enemy team pay nothing, and the XP for a sale drops by 10% with each repeat. A crate of good gear at the main base still earns if many different players buy from it.
FOB defence#
Mortars and anti-air cost more to keep firing. The 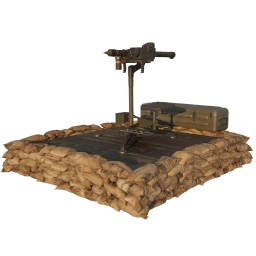 Talon 9K-SAM reloads in 5 seconds instead of 2 and takes 200 ammo supplies per restock. The
 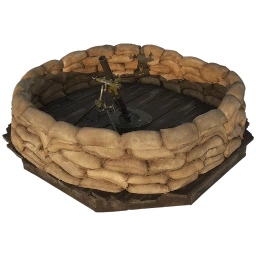 L81 Mortar takes 150 instead of 75. Plan the ammo in the FOB calculator before you build. The economy page lists every reward.
Ammo and armor#
HP rounds double damage on bare body parts and lose almost everything against plates. AP rounds lose a fifth on bare targets and keep half their damage through armor. A 5.56 round against 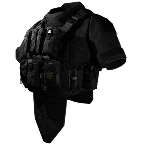 Level 4 Armor (60% reduction):
| Round | Bare | vs Level 4 |
|---|---|---|
| Standard (FMJ) | ×1 | ×0.40 |
| Flesh Damage (HP) | ×2 | ×0.05 |
| Armor Piercing (AP) | ×0.8 | ×0.51 |
Level 4 armor covers the torso, pelvis and upper arms, and the  Level 4 Helmet covers head and neck. Against a full Level 4 set, HP rounds only work on legs and forearms. HP unlocks early on the WARDOG track (
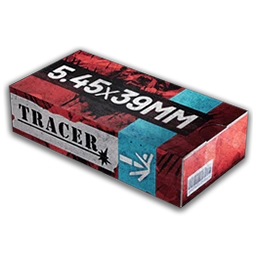 5.45mm HP at
  6). AP comes late:
 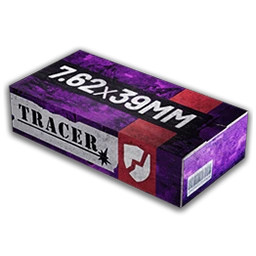 7.62x39mm AP at
  60,
60, 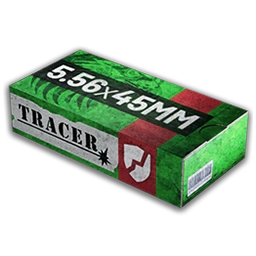 5.56mm AP at
  84. Until then, FMJ does more than HP against heavy armor. The ballistics calculator shows shots to kill for every hit zone.
The Level 4 helmet muffles sound, narrows your view and fogs up when you sprint. Level 4 armor blocks 60% of damage now, down from 65%.
Vehicles to plan for#
| Vehicle | Unlock | Spawn price | Note |
|---|---|---|---|
| Wolf-110 |
8, $50k |
$2,200 | 500 health, same as the 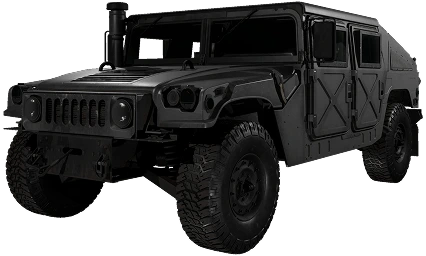 Humvee; a Humvee; a 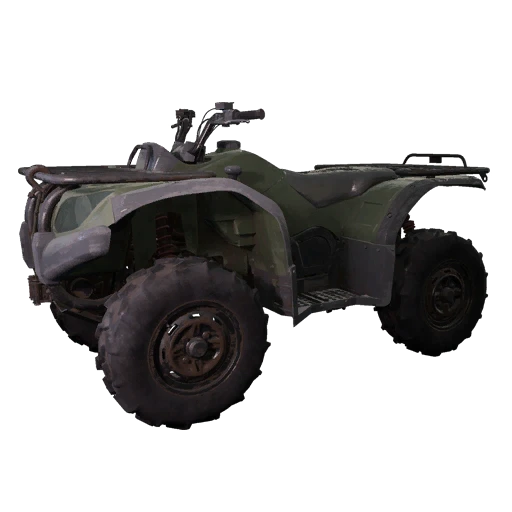 Bobcat has 200 Bobcat has 200 |
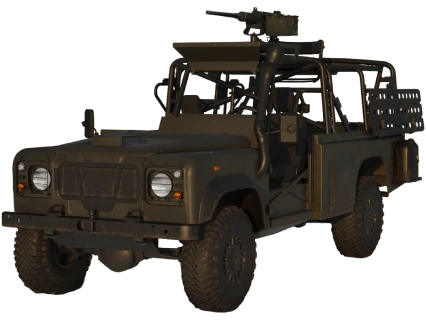 Wolf-110 [M2 Browning] Wolf-110 [M2 Browning] |
16, $125k |
$7,800 | Armed variant |
| T-72B3 |
20, $250k |
$16,000 | Top speed 60 km/h |
| Flakpanzer Gepard |
25, $300k |
$14,000 | Anti-air |
| L2A6 |
35, $500k |
$22,000 (was $14,000) | Top speed 65 km/h |
| Havoc |
35, $650k |
$28,000 (was $18,000) | Attack helicopter |
T-72B3
Heavy Armored VehicleLevel 20
$16,000
Put the tanks side by side in compare. The MGL-40 (35) is weaker than in Season 1: 25% lower muzzle velocity, more sway, and a reload penalty on the Little Bird bench.
Team switching and the Lonestar bonus#
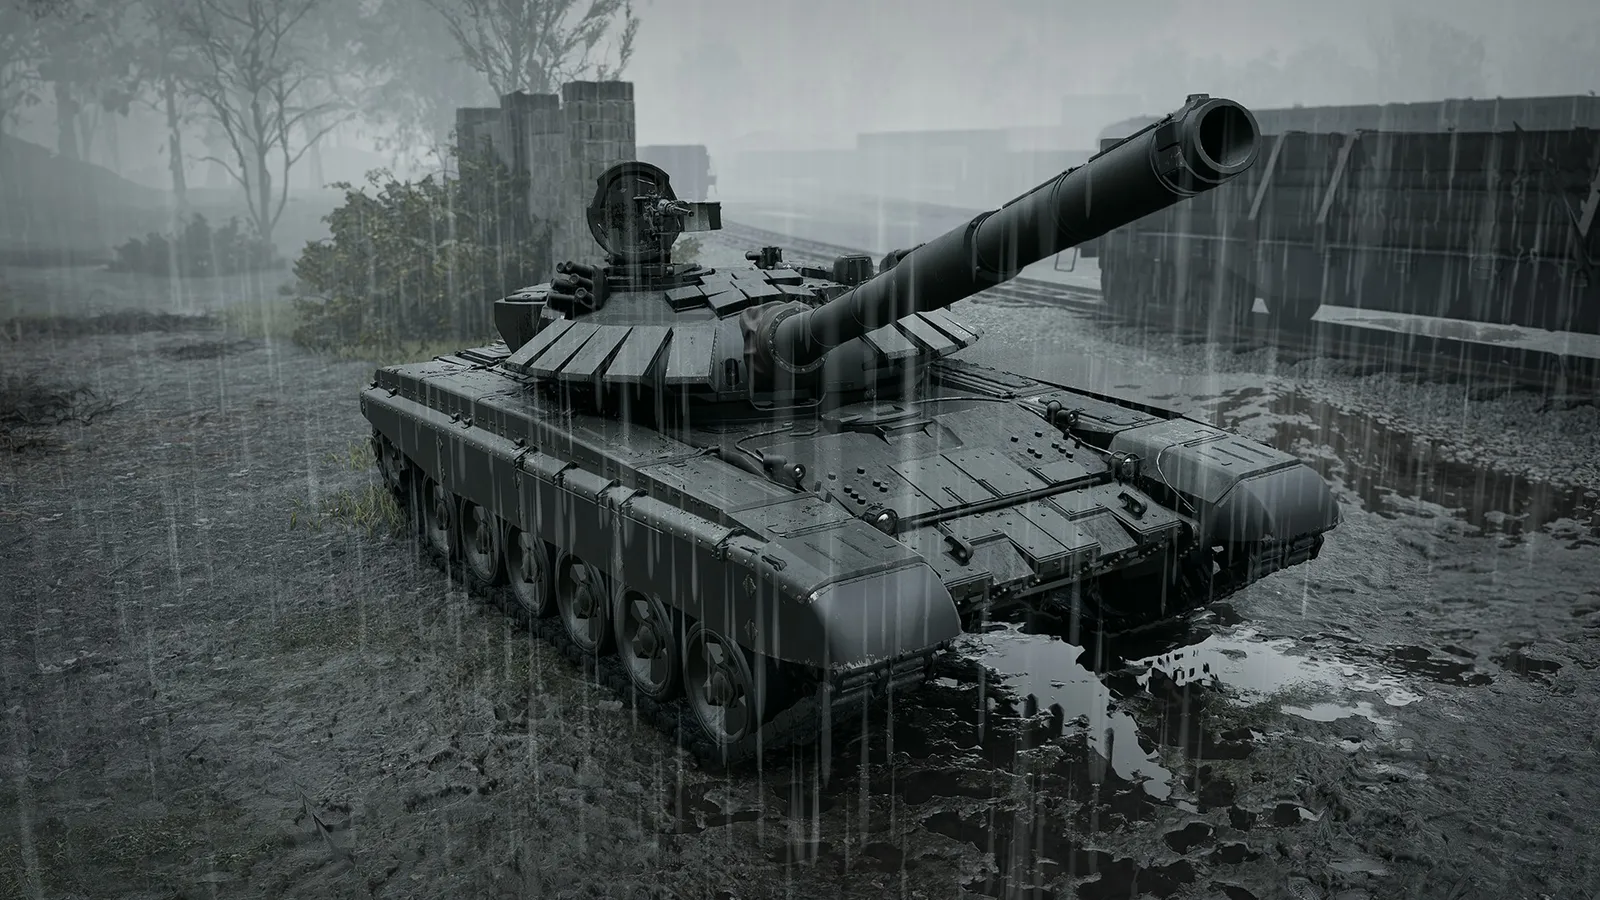
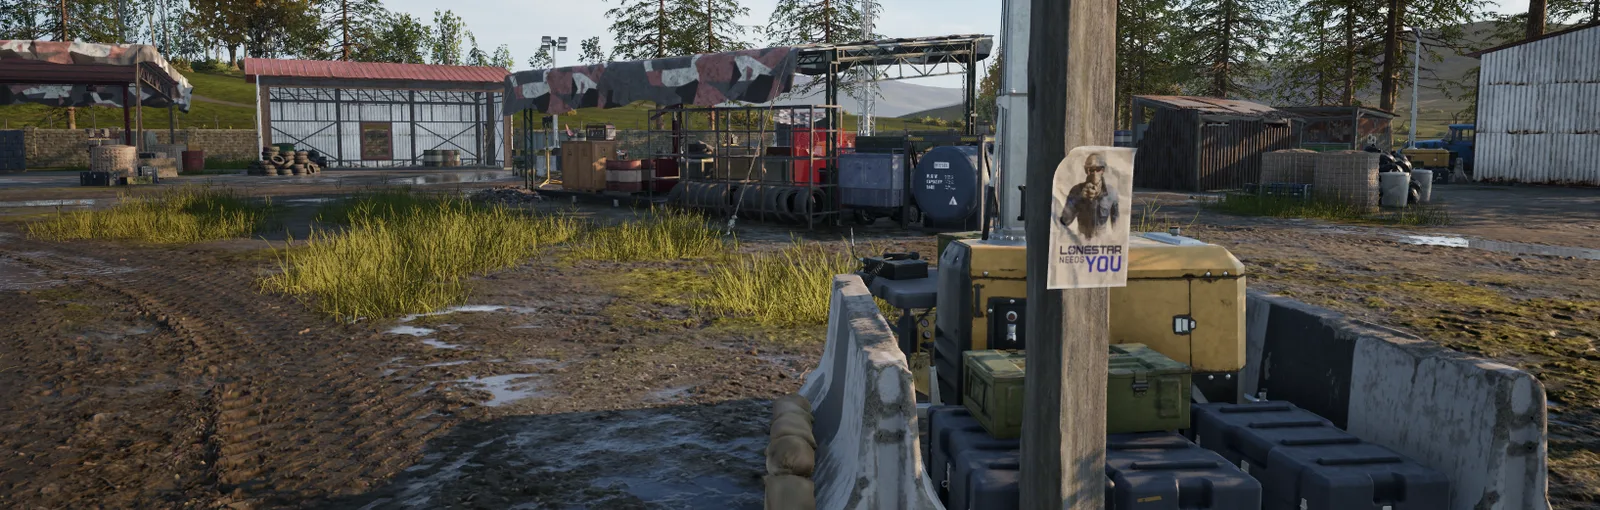
BULKHEAD removed the Lonestar cash and XP bonus in the backend update of 15 October. Team switching has limits once a team leads by more than 10 points: after you join a team you cannot switch again for 15 minutes, and until you first reach the control zone your map stays hidden and the  spawn vehicle is closed to you.
Wager vendor#
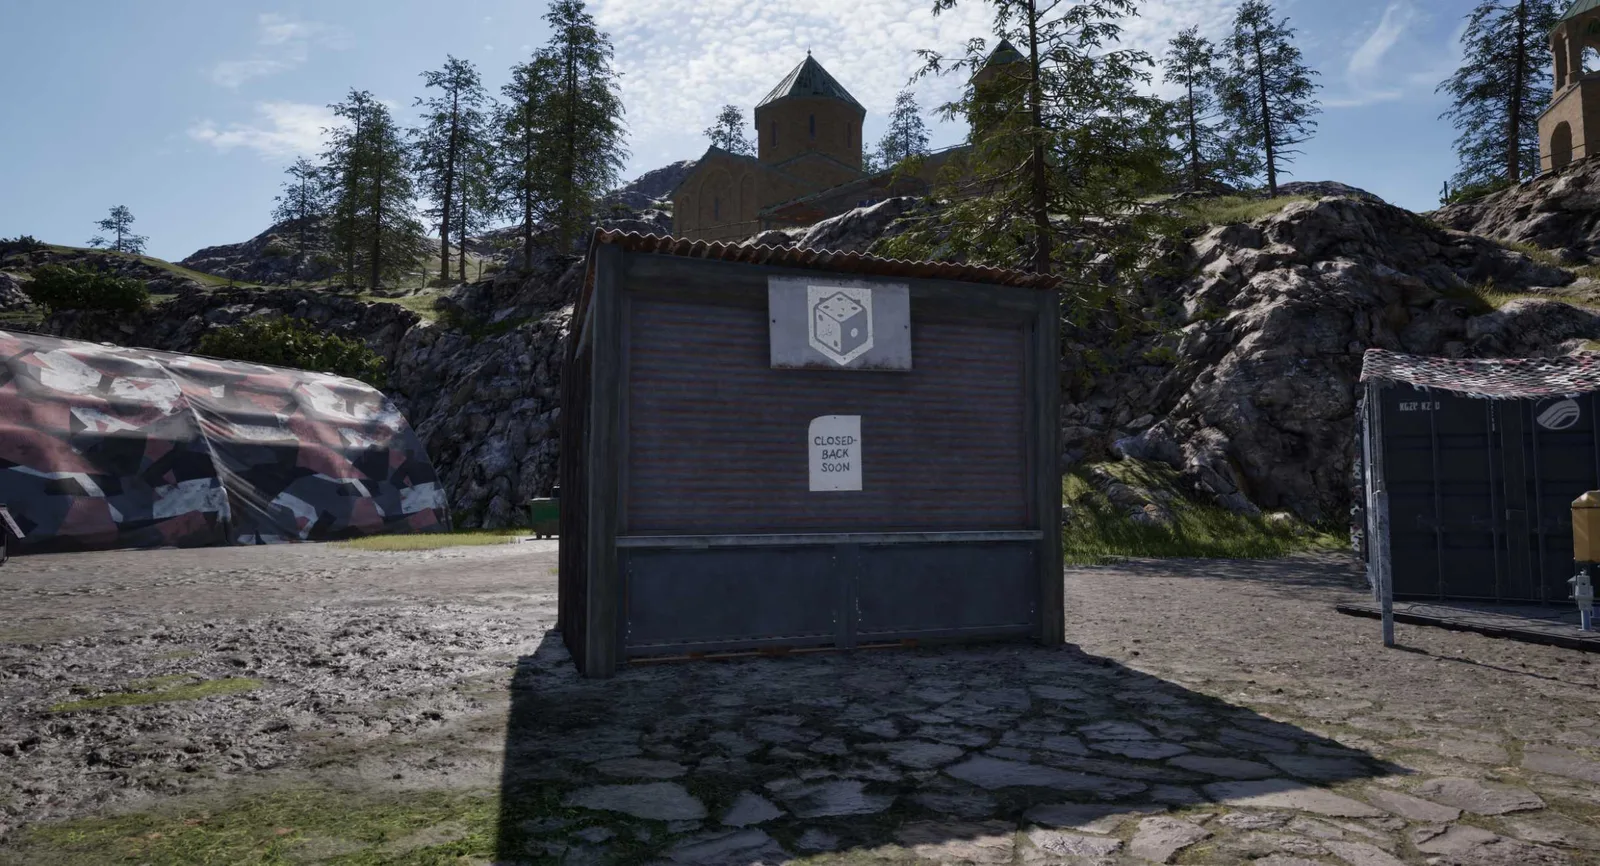
The Wager vendor opens later in the season, and wagers are switched off for now. What we know so far: you stake your own cash on objectives, the vendor needs a minimum WARDOG level, payouts have a cap, a disconnect loses the stake, and a match ending refunds it. The objective list comes from BULKHEAD's servers, so nobody can list it yet.
A first week by track#
| Track | Earn with | Aim for |
|---|---|---|
| Recon | Spotting over the Hot Zone | Range Finder, then BMR-308 at 20 |
| Support | Supply runs and a stocked FOB | PKM at 15, then M249 SAW at 20 |
| Pilot | Transport, then full crate drops from the Z20 Lakota |
AH-6R [Rockets] at 20 |
| Driver | Supply runs in the URAL |
Large Crate at 17, T-72B3 at 20 |
| Medic | Revives and healing near the zone | Medical Bag at 14 |
| Assault | Kills and breaching enemy FOBs | TCX-SPR at 20 |
Build the kit you play with in the loadout builder, and check the maps for the new Bakurani spawns before you pick a route.
 News
News